Navigation: Communications > Emails
Email Types
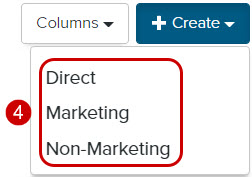
Fireworks enables you to create and send three types of emails:
- Direct: A personalized email sent to one recipient or a small group of recipients (e.g., an interview request sent from a student’s assigned admissions counselor)
Tip: Direct emails may be sent to any person regardless of their email opt-in status.
- Marketing: A promotional email typically sent to a large group of recipients
Tip: Marketing emails must comply with the CAN-SPAM Act and can only be sent to recipients who have opted-in and have a valid email status of subscribed.
- Non-Marketing: A transactional email (e.g., an application received confirmation, an event registration confirmation, an interview confirmation)
Tip: Non-marketing emails may be sent to any person regardless of their email opt-in status.
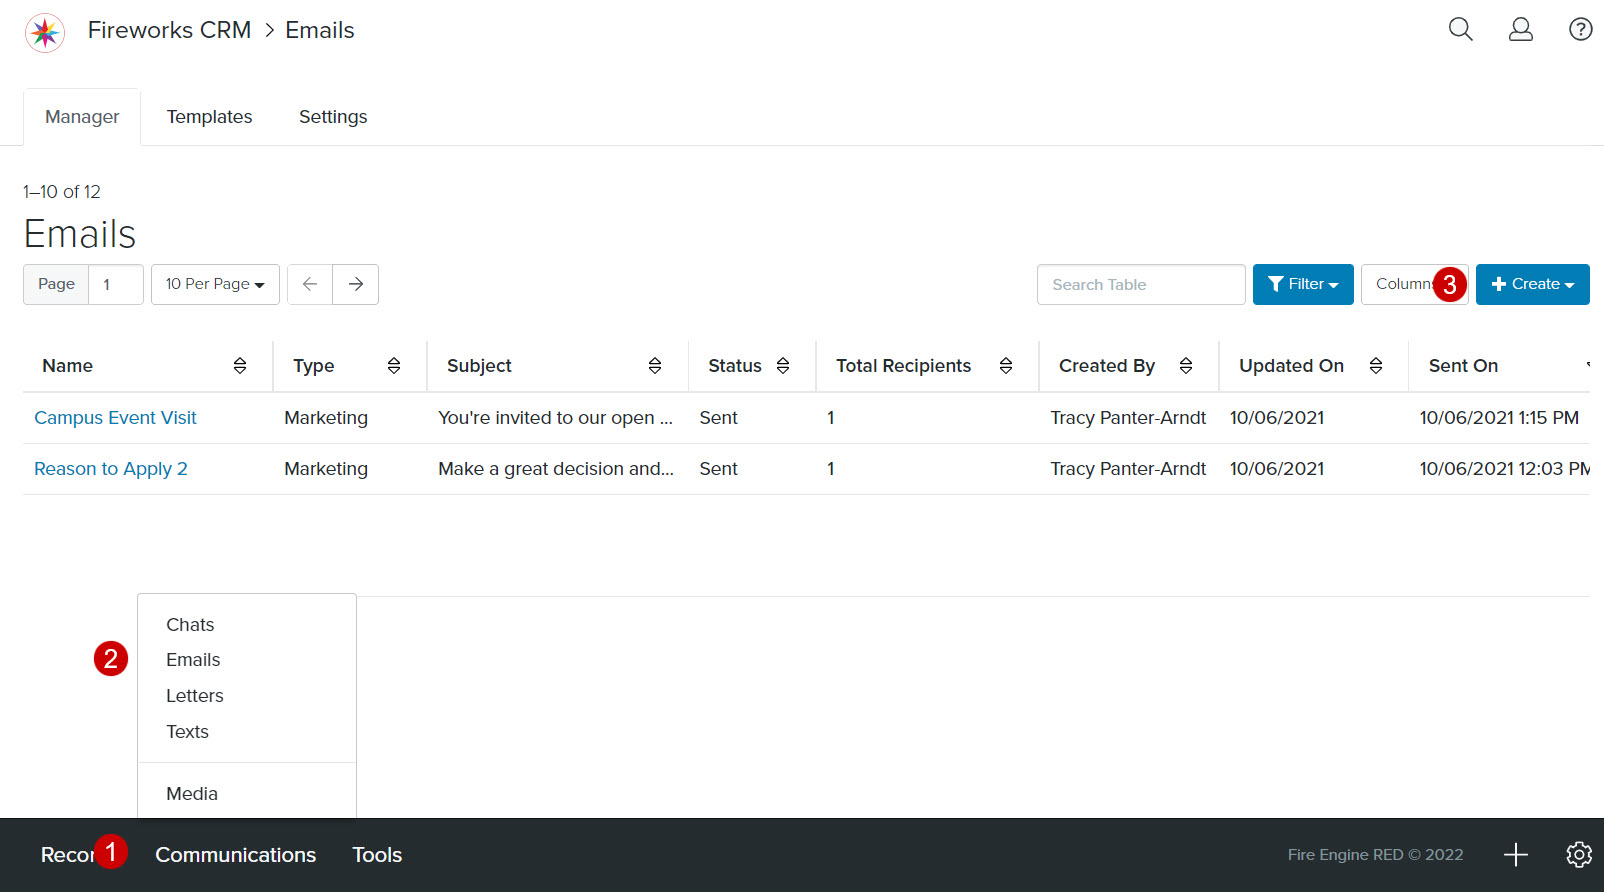
Accessing the Email Composer
- From the bottom navigation bar, click Communications
- Click Emails. The Emails Manager will display.
- Click +Create
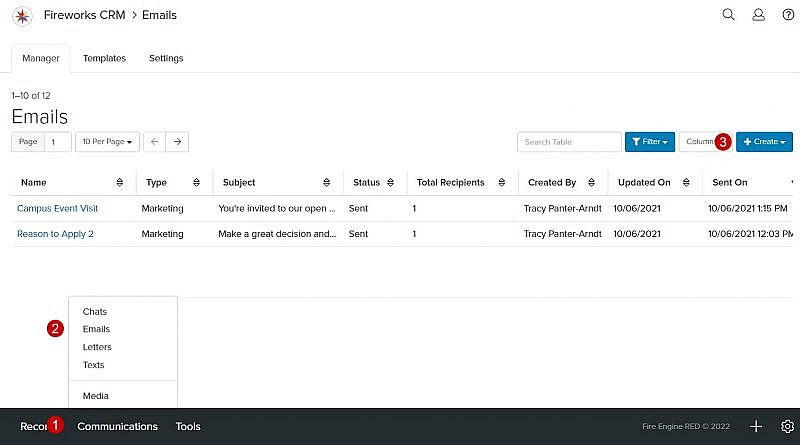
- Select the Email Type from the dropdown menu. The Email Composer will display.
Using the Email Composer
The Email Composer has five sections that you’ll need to complete.
Tip: As you complete a section, you’ll automatically be moved to the next section.
- Start
- Headers & Attachments
- Content
- Testing & Validation
- Finish
Tip: Be sure to save your information frequently.
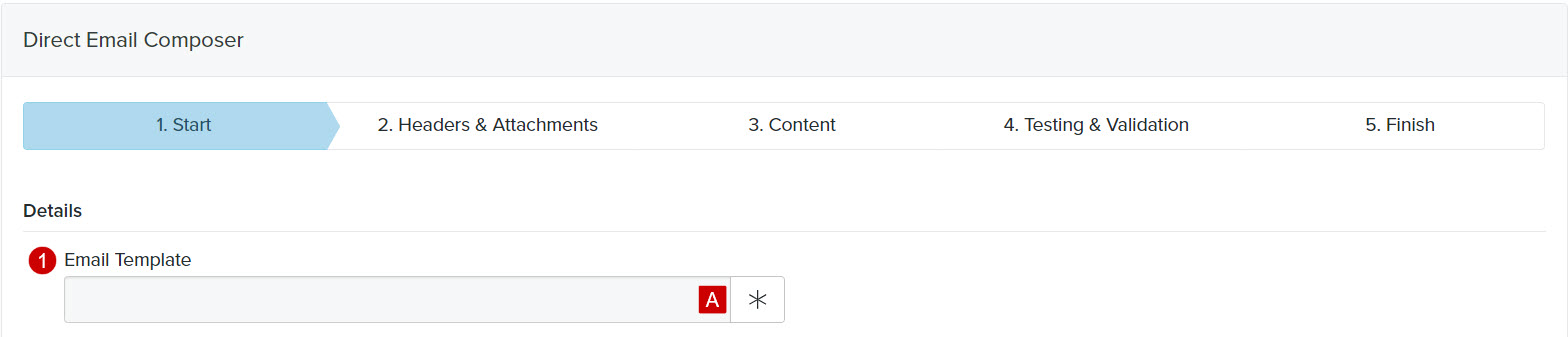
Start
Details
- Email Template: Choose an email template
Tip: If you want to create an email from scratch, leave the Email Template field empty and start with the Name field.
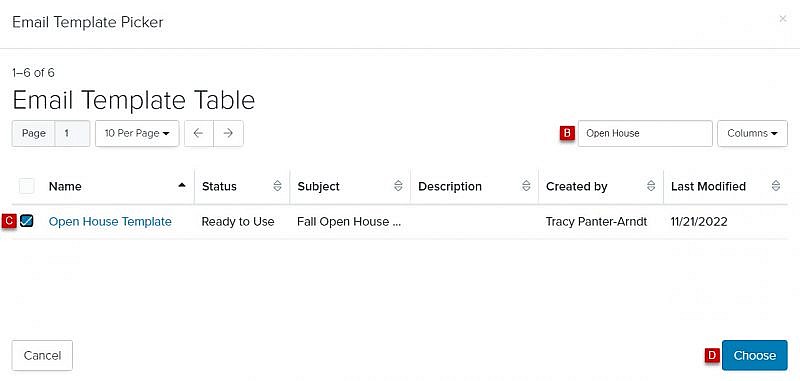
- Click
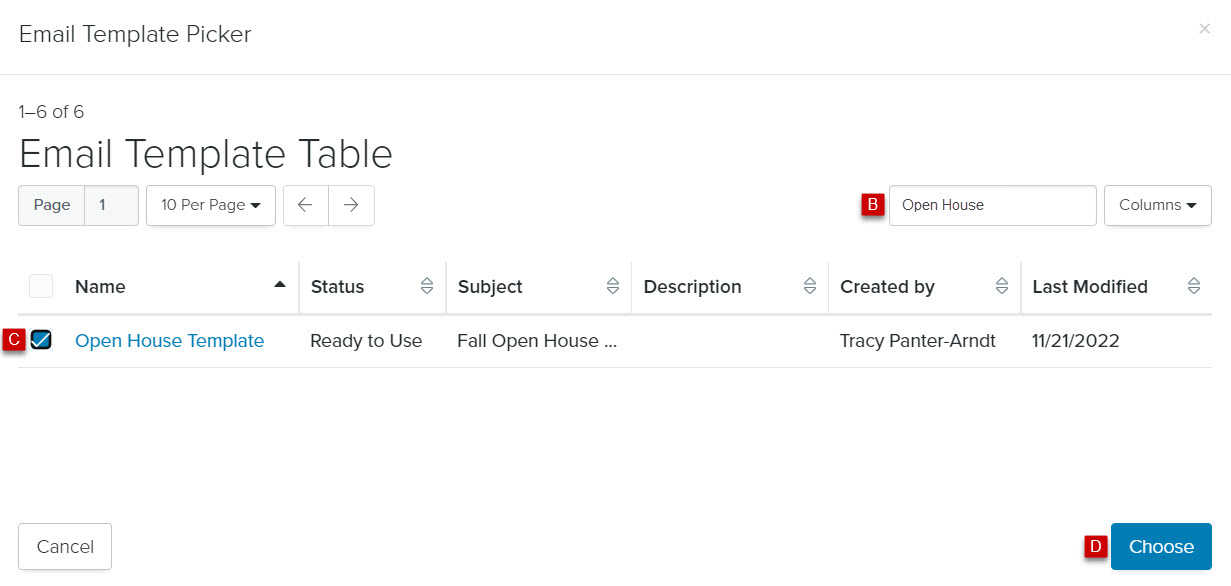
 to the right of the Email Template field. The Email Template Picker will display.
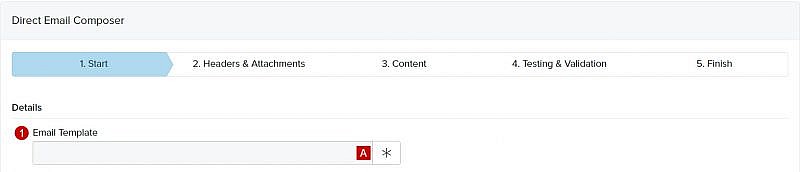
- In the Search field, enter the name of the email template you want to use or scroll through the list of email templates on the page
- Check the box to the left of the email template
- Click Choose. The email template will populate the Email Template field.
- Click
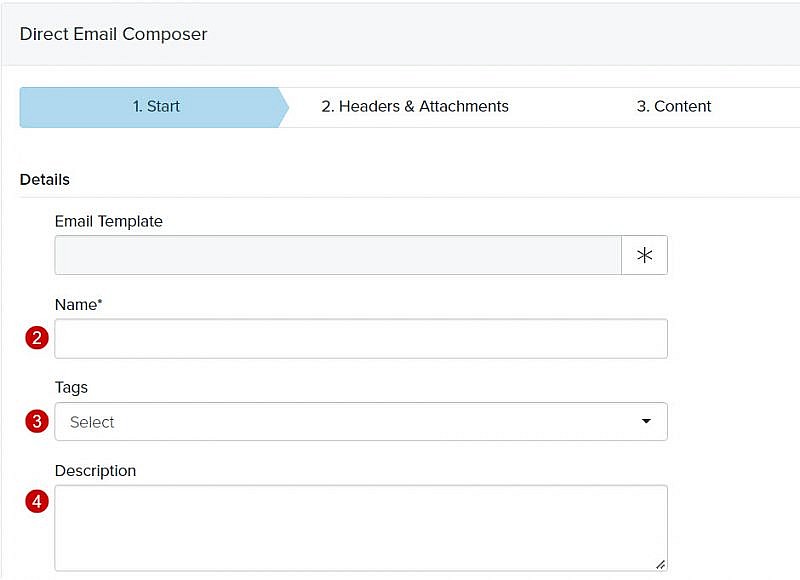
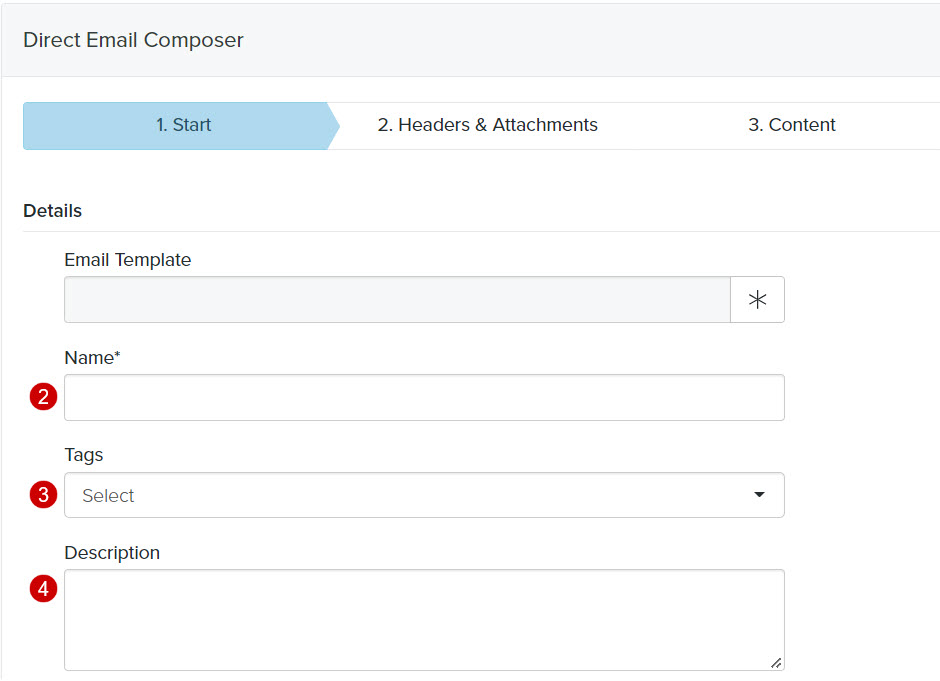
- Name: Enter the name of the email
- Tags: Select a Tag from the Tags dropdown menu
Tip: A tag must be created in the Tag manager prior to selecting a tag from the dropdown. - Description: Describe your email so that other staff members will be able to easily identify it
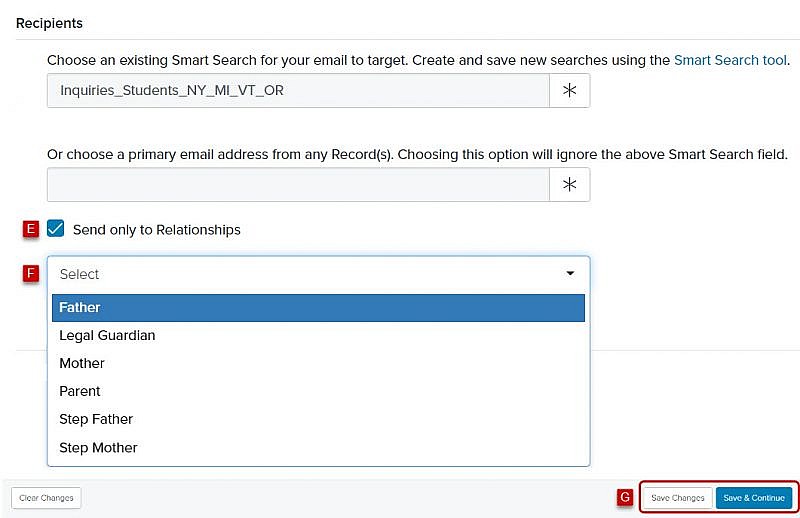
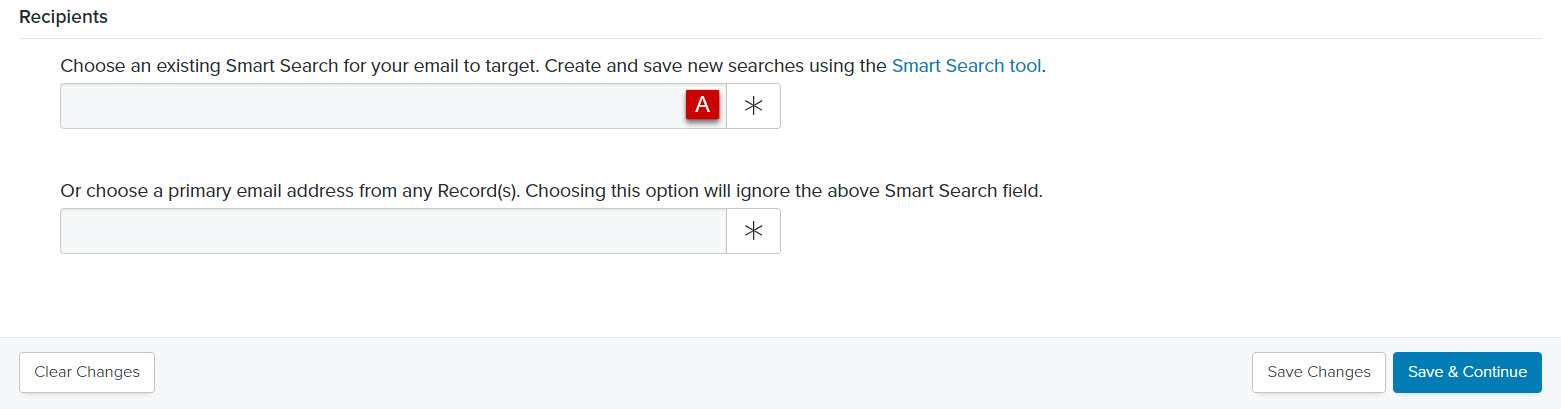
Recipients
You have two options:
- Sending to a Group
-
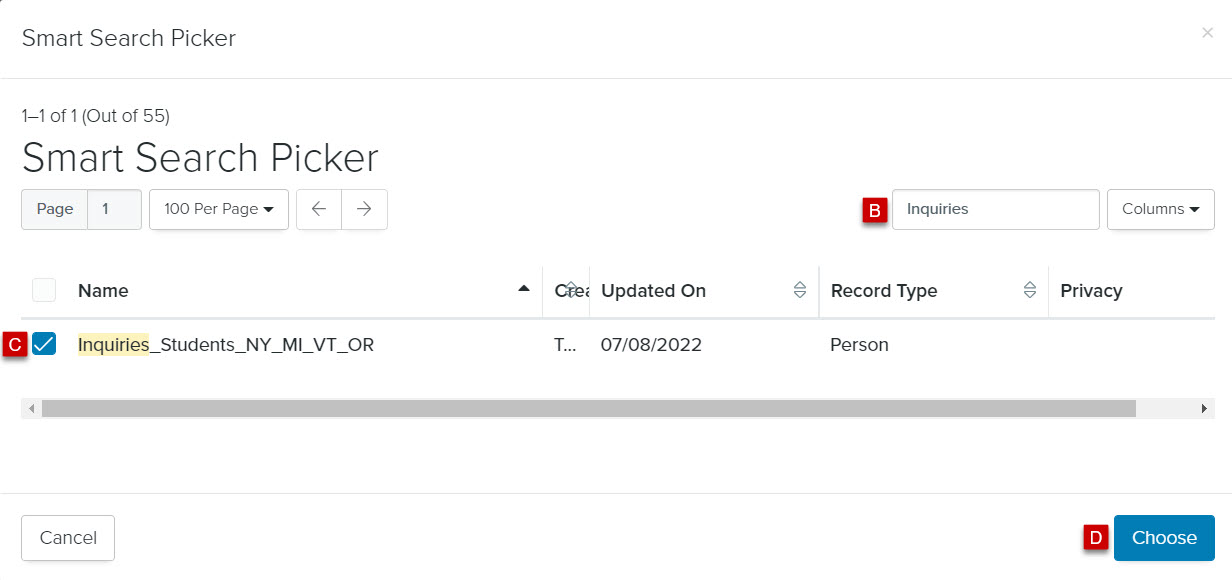
- Click to the right of the Choose an existing Smart Search field. The Smart Search Picker will display.

- In the Search field, enter the name of the Smart Search you want to use to create your list of email recipients or scroll through the list of Smart Searches on the page
- Check the box to the left of the Smart Search
- Click Choose. The name of the Smart Search will populate the Choose an existing Smart Search field.

- Check the Send only to Relationships box (optional)
Tip: You can also send an email to an intended email recipient’s specific relationships (e.g., mother, father, legal guardians). For example, you may want to invite all of the parents and legal guardians of incoming students to a fall open house. -
Select the Relationship Type(s) from the Relationship Type dropdown menu
-
Click Save Changes or Save & Continue
- Click

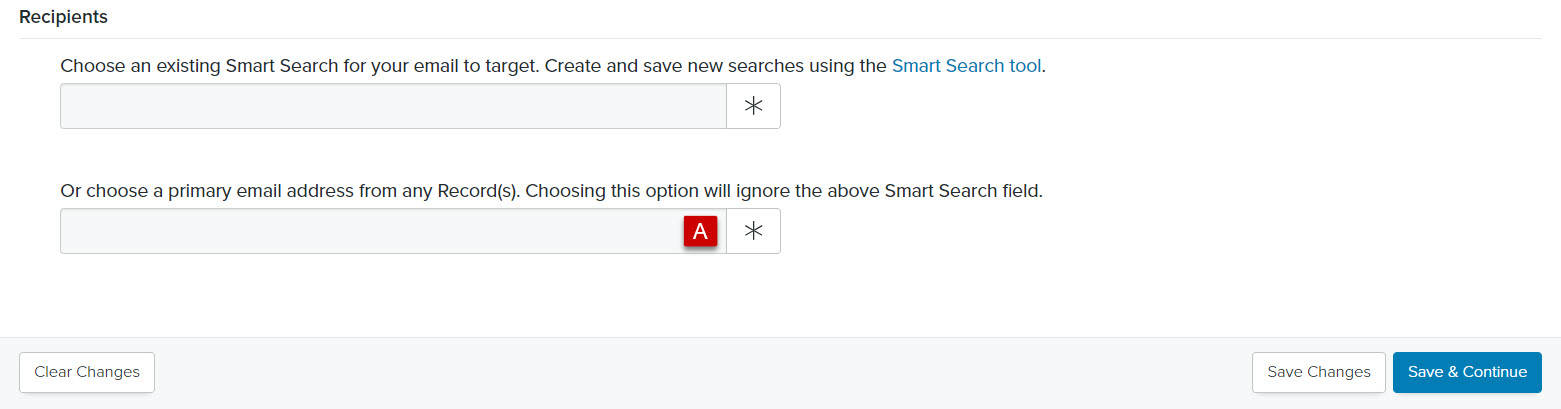
- Sending to Individual(s)
-
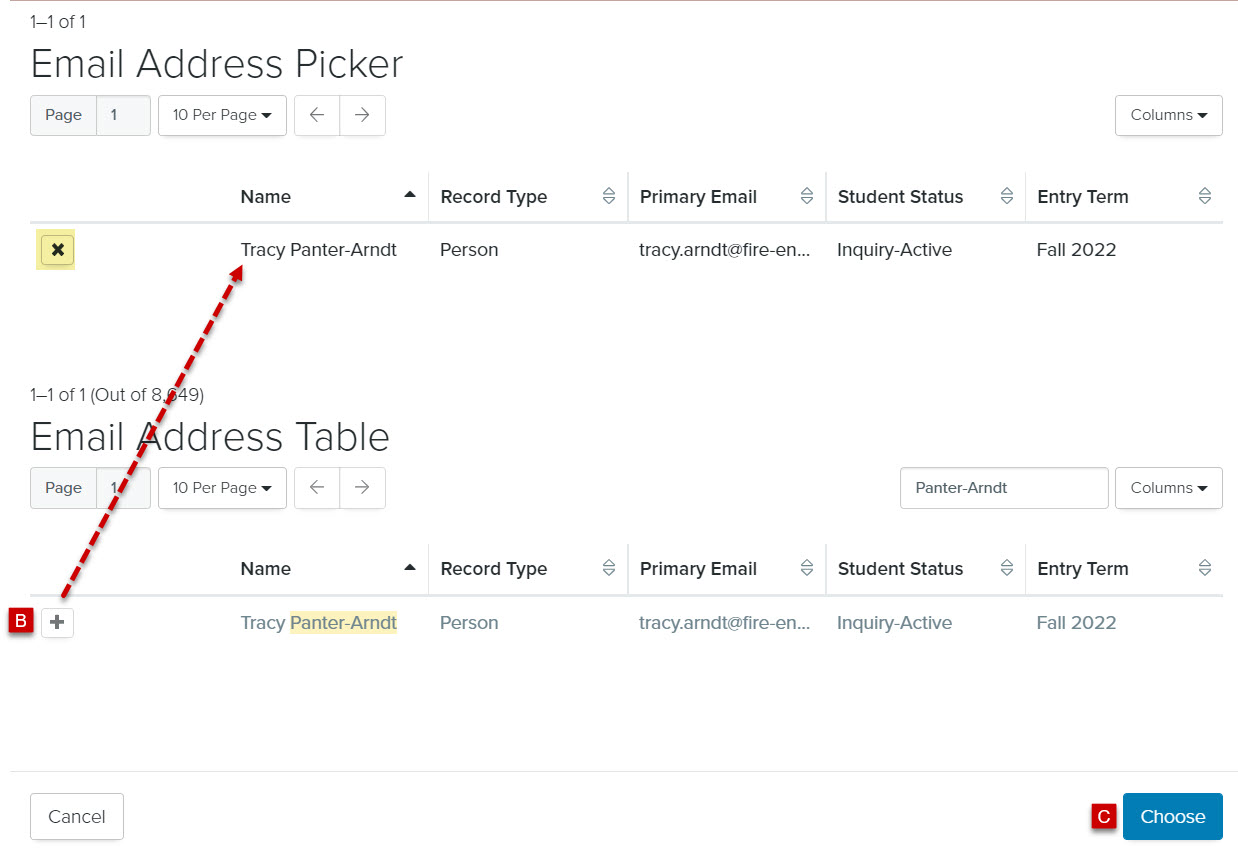
- Click
 to the right of the Choose a primary email address field. The Email Address Picker will display.
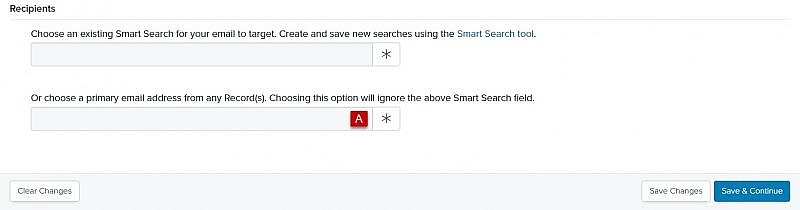
- Click
 to the left of the record you want to receive your email. Once you’ve added the record, it will populate at the top of the Email Address Picker.
Tip: If you inadvertently add an incorrect record, click to remove the record.
 -
Click Choose. The names of the individual recipient(s) will populate in the Choose a primary email address field.

- Click
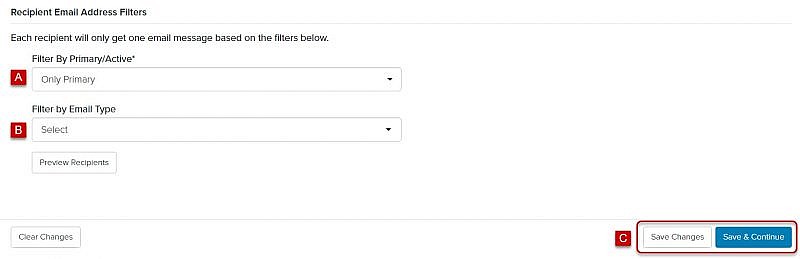
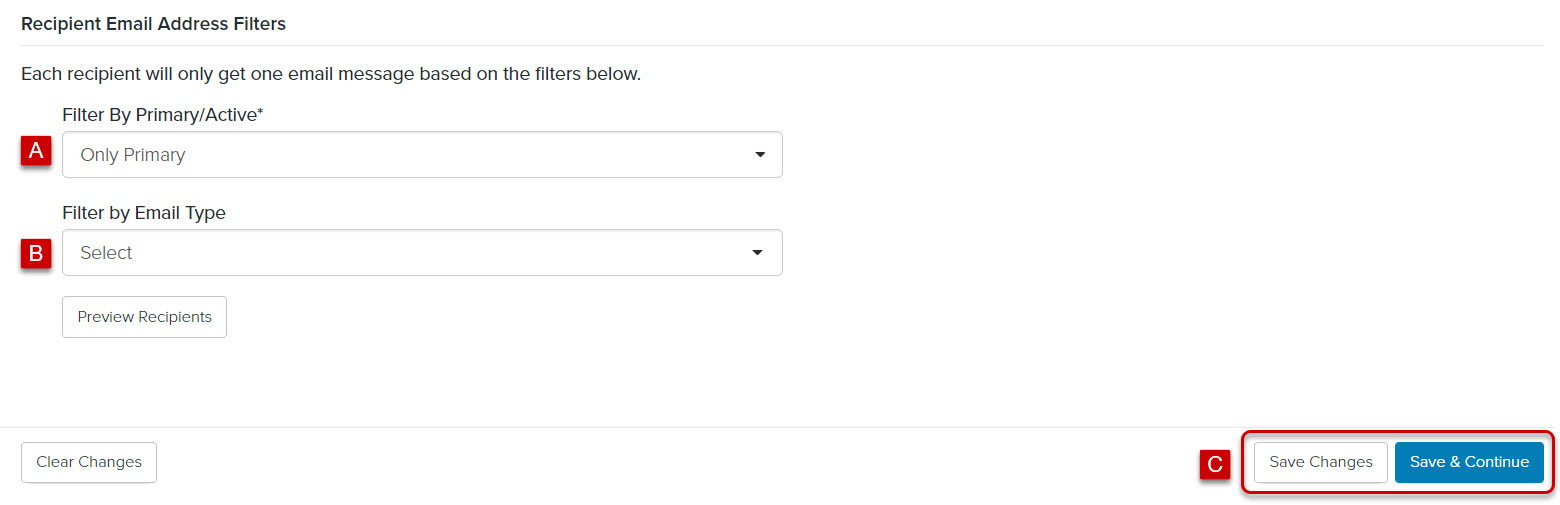
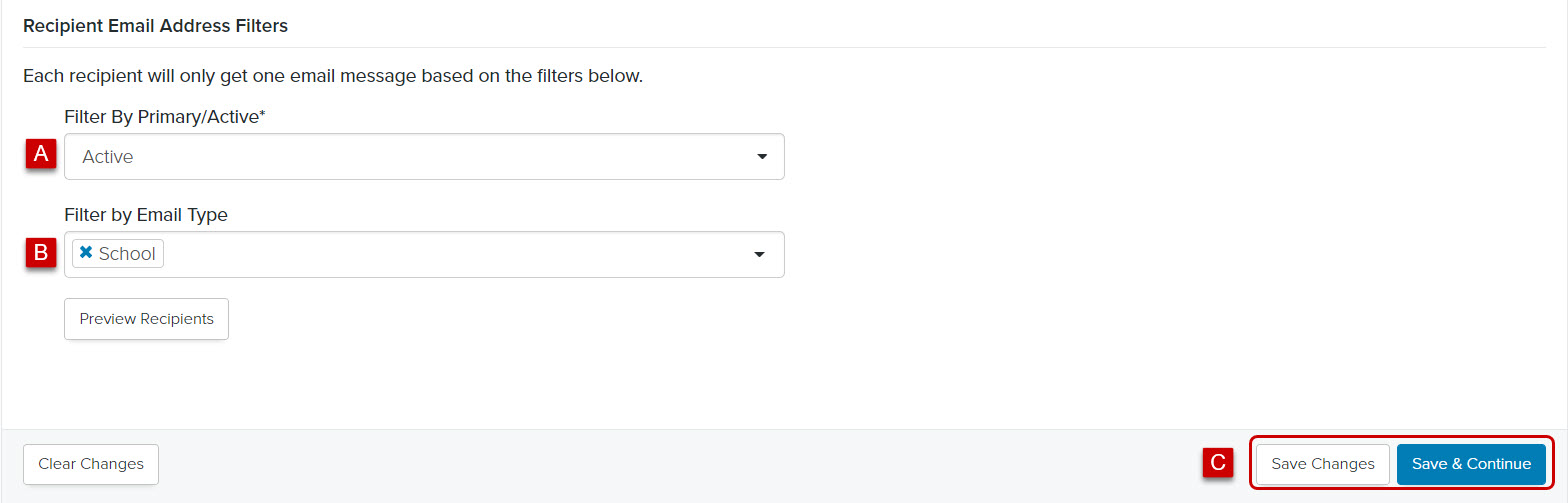
Recipient Email Address Filters
The Recipient Email Address Filters enable you to choose which of your recipients’ email address(es) you want to receive your email. You have two options:
Tip:Email Address Filters can only be selected if using a Smart Search for your recipients.
- Filter by the primary email address
-
- From the Filter By Primary/Active dropdown menu, choose Only Primary (this is the default setting)
- Leave the Filter By Email Type empty
- Click Save Changes or Save & Continue
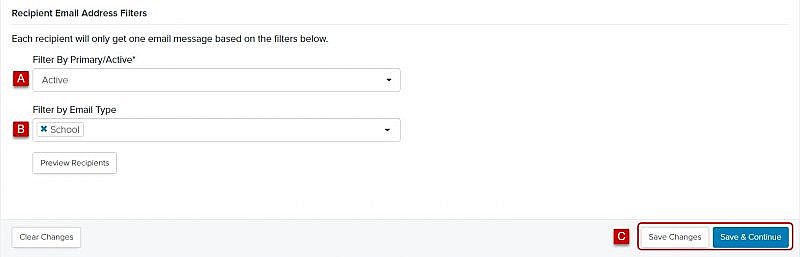
- Filter by active email address
-
- From the Filter By Primary/Active dropdown menu, choose Active
Tip: Email Address Filters can only be selected if using a Smart Search for your recipients. - From the Filter by Email Type dropdown menu, choose an email type(s) (e.g., Personal, School, Business, Other)
Tip: If the intended email recipient(s) have more than one active email type, you may choose more than one email type. Fireworks will then decide which email address to use. The recipient’s primary email address will be given priority. - Click Save Changes or Save & Continue
- From the Filter By Primary/Active dropdown menu, choose Active
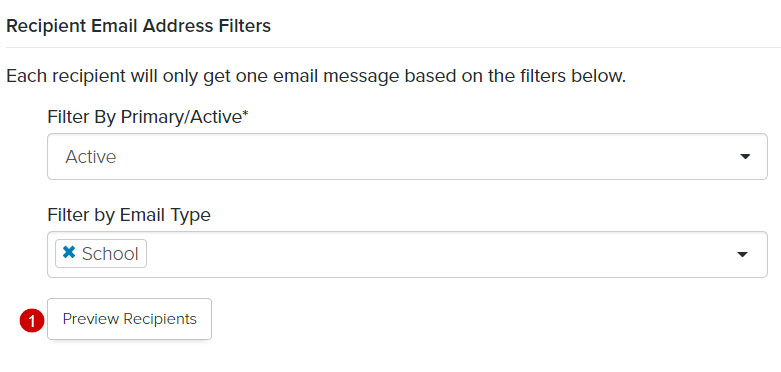
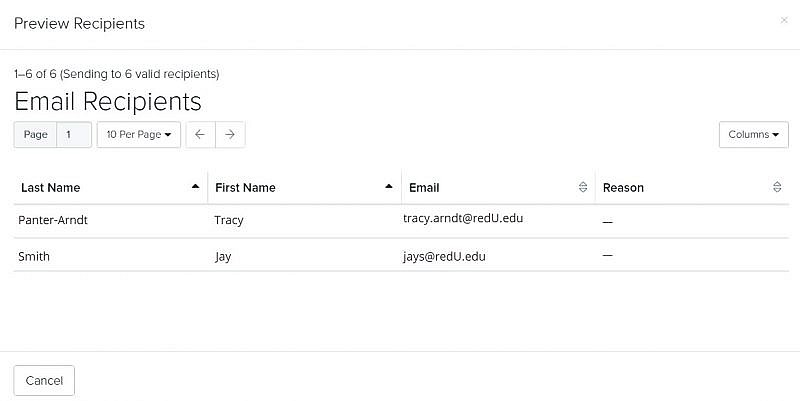
Previewing your email recipients
- Click Preview Recipients for a list of your email recipients. An email address will be displayed for each of your intended recipient’s based on the filter(s) you’ve selected.
- Review the list of intended email recipients to ensure your recipient list is correct

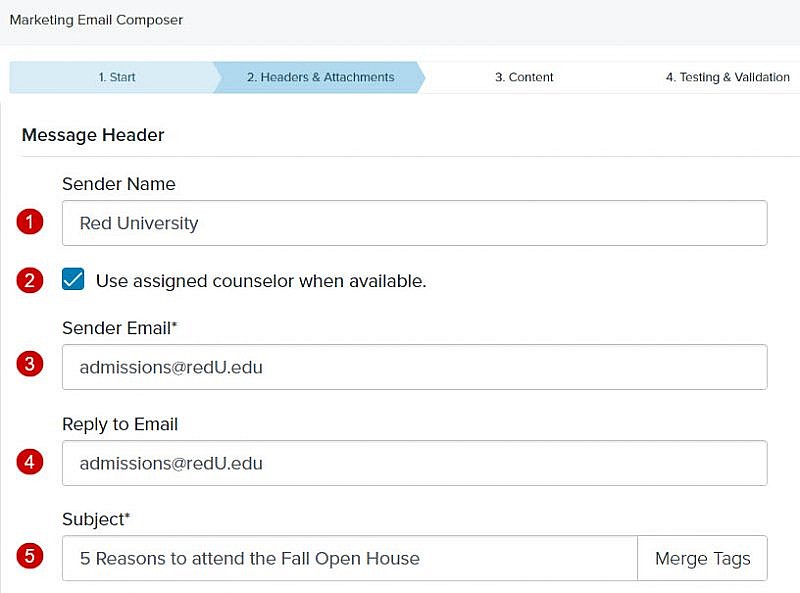
Headers & Attachments
Message Header
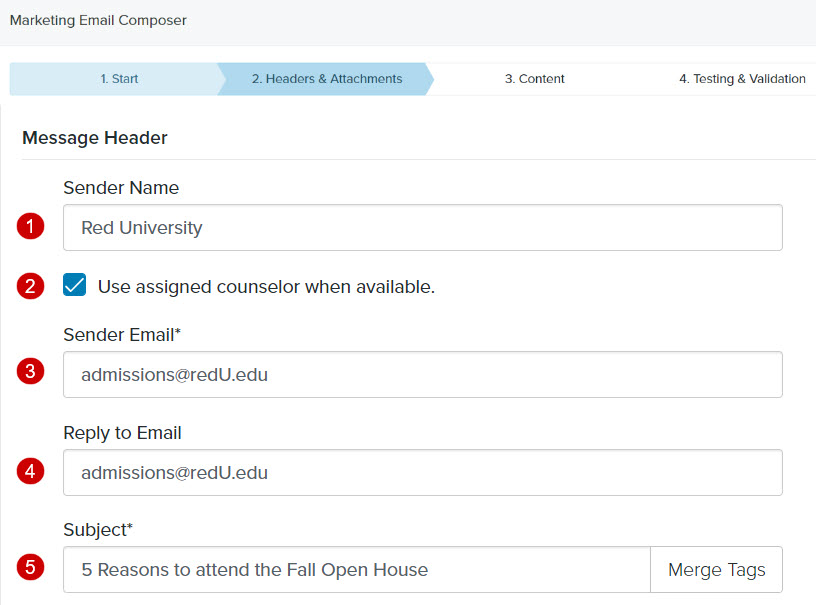
- Sender Name: Enter the name (e.g., RED University, Reed Smith, Director of Admissions, RED Admissions) of the sender
- Use Assigned Counselor When Available: Check the box to use the name of an assigned counselor in the Sender Name field
Tip: If you select the assigned counselor option, and the intended recipient does not have an assigned counselor, the sender name will default to the name in the Sender Name field. - Sender Email: Enter the email address of the email sender
Tip: To avoid potential deliverability issues, when sending an email from an institutional address (e.g., student@reduniversity.edu) make sure the Sender Name and Sender Email match (e.g., If a Sender Name is Reed Smith, but the Sender Email is jack@redniversity.edu, the email may be blocked). - Reply to Email: Enter the email address where email replies should be sent
Tip: You can use the email address of a person (e.g., jack@reduniversity.edu) or a more general email address (e.g., info@reduniversity.edu). - Subject: Enter the subject of the email
To personalize your subject, you can insert Merge Tags
- Place your cursor in the subject where you want to insert a merge tag
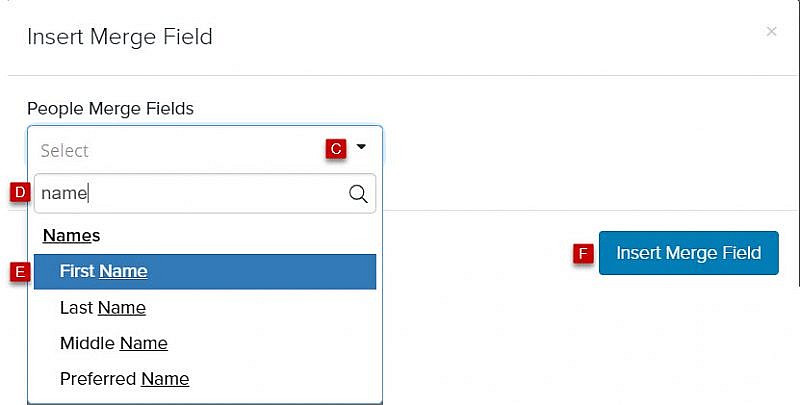
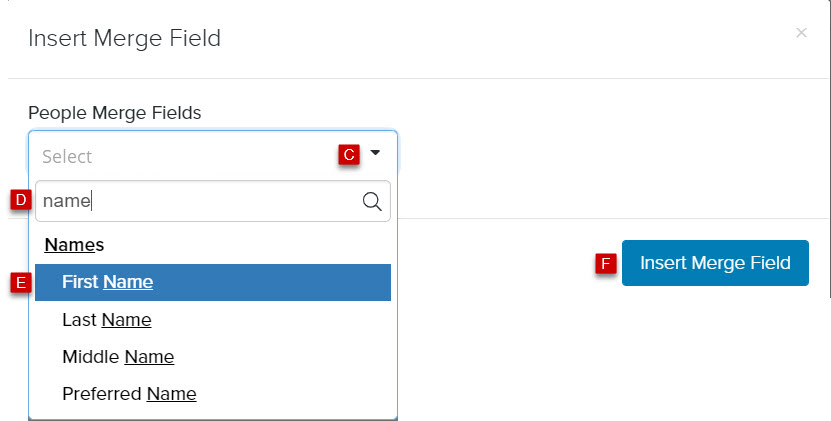
- Click Merge Tags. The Insert Merge Field window will display

- Click the People Merge Fields dropdown menu
- In the Search field, enter the name of the merge field you want to insert or scroll through the list of merge fields in the dropdown menu
- Click the field name that you want to insert
- Click Insert Merge Field. The Merge Field will populate in the subject field
- Preheaders: Enter text that will be displayed below the subject of the email
Tip: Preheader text is used to encourage your intended email recipients to open your email. If you choose to leave the preheader field empty, the first few words of your email will automatically be displayed.
- Message Footer: When creating marketing emails, you have the option to check the Disable the default CAN-SPAM footer and use my own unsubscribe content box. If checked, you will need to add the footer on the content tab.


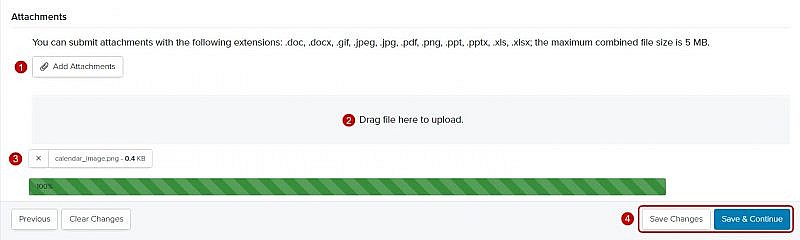
Attachment(s)
Tip: Although you can add an attachment(s) to your email, we strongly recommend that you do not do this because the attachment(s) could trigger spam blockers and cause deliverability issues. Instead, we encourage you to insert one or more link(s) in your email and link your recipients to the files hosted in the Media Library.
Select your file by either:
- Clicking
 , or
, or - Dragging the file to the designated area labeled Drag Files here to upload
Tip: Accepted file formats: doc, docx, gif, jpeg, jpg, pdf, png, ppt, pptx, xls, and xlsx.
Your attachment will be visible at the bottom of the page along with an upload progress bar. - Your attachment will be visible at the bottom of the page along with an upload
- Click Save Changes or Save & Continue

Content
The Content section enables you to create an HTML and plain text version of your email.
Tip: Creating a plain text version of your email will help ensure your email gets delivered without being flagged as spam.
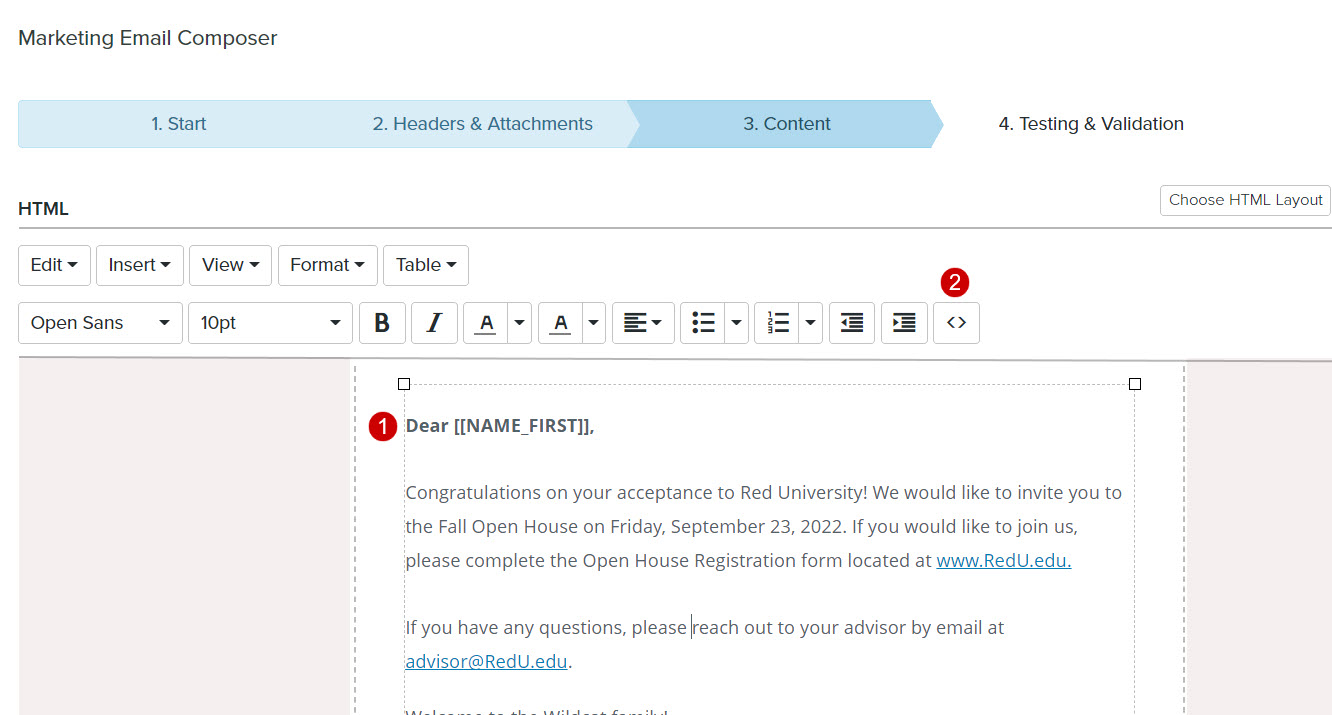
HTML
There are two ways to create the content of your HTML email:
- Use the What You See Is What You Get (WYSIWYG) editor
- Copy and paste the HTML code into the
 Source Code window
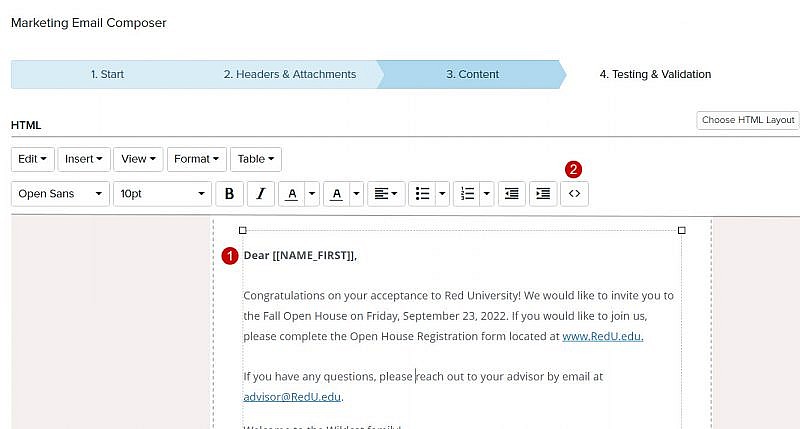
Custom Merge Fields
There are a few special merge fields that you may need to use when creating content for emails. To insert a Merge Field follow the steps A – F listed under To personalize your subject, but instead you will place your cursor in the body of your email.
| Merge Field Value | Merge Field Command |
|---|---|
| Banner ID Field Opposed to Primary | [[ID_NUMBER::FILTERVAL:BANNER_STUDENT_ID]] |
| Primary Application Component Displays | [[Application Component::PRIMARY]] |
| Resume Component Displays | [[Application Component::FILTERVAL:resume]] |
| Most Recent Application Component Displays | [[Application Component::RECENT:3]] |
| Full Person Address (i.e., of insert individual address fields) | [[Address Full Person::PRIMARY]] |
| State Abbreviation (2 letter abbreviation) | [[ADDRESS_STATE::ABBREVIATION]] |
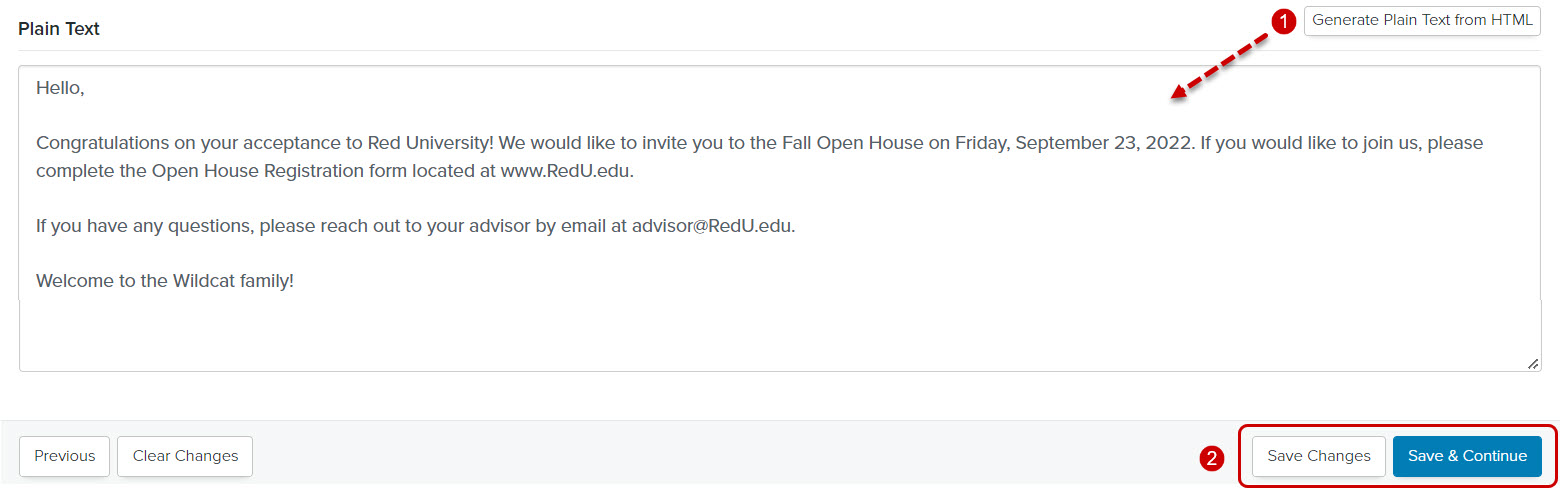
Plain Text
- Click Generate Plain Text from HTML
- Click Save Changes or Save & Continue
Tip: We recommend that you review your plain text email and remove any HTML that remains.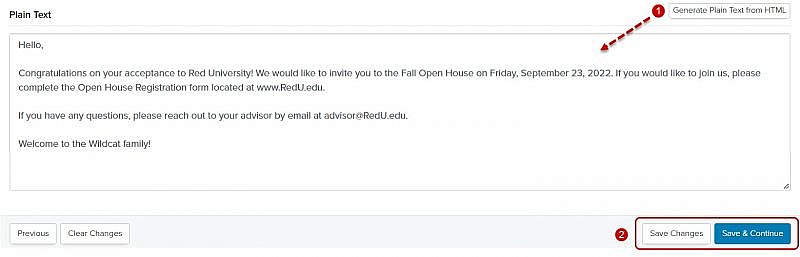
SpamAssassin Score
Once you create your HTML and plain text emails, a SpamAssassin score will be automatically generated. This score indicates the likelihood that your email will be delivered to your intended recipient(s) without being flagged as SPAM.
Your SpamAssassin score should be a minimum of 65%.
- Click the
 button to view your score. SpamAssassin will tell you which items (e.g., low text-to-image ratio, overusing certain words or phrases, not having a plain text version of your email, using URL addresses without linked text), if any, have impacted your score
 - Fix the issues listed by SpamAssassin
Tip: For the best deliverability, we strongly recommend that you aim for a score of 90% or above.
Testing & Validation
To ensure your email will render properly across all devices you’ll need to test your email and validate the HTML.
Testing Your Email
Before sending your email to your intended recipients, we strongly recommend that you send your email to test recipient(s). You have two options:
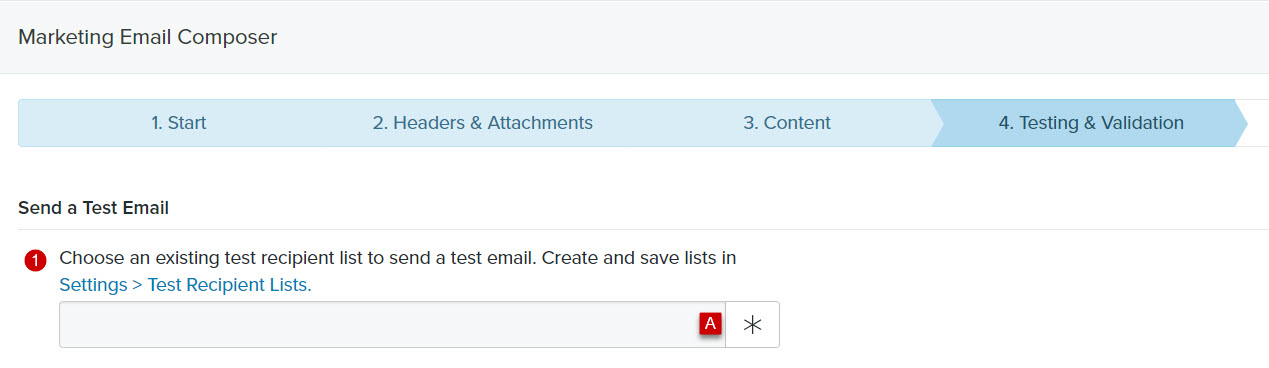
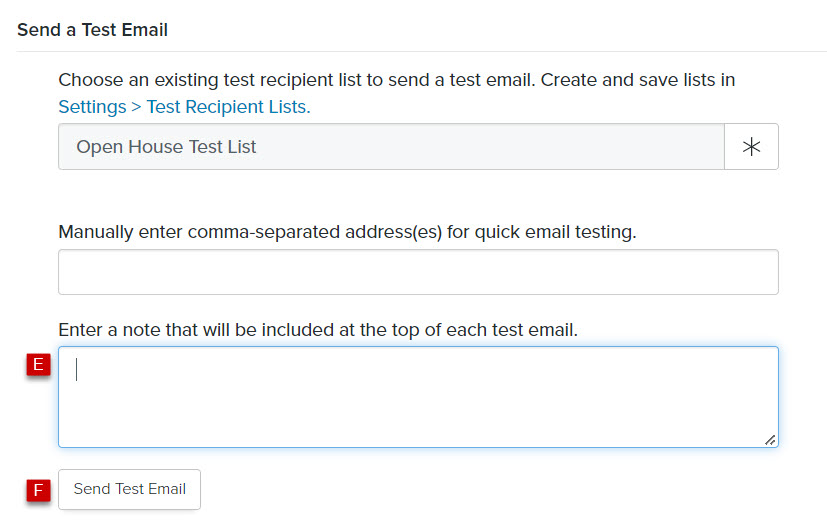
- Select a Test Recipient List
- Click to the right of the Test Recipient List field. The Test Recipient List Picker will display.
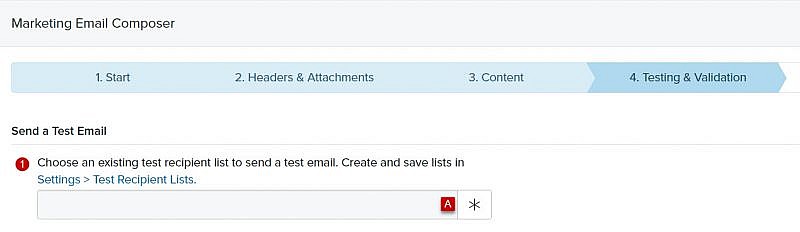
- In the Search field, enter the name of the test recipient list you want to use or scroll through the list of test recipients on the page
- Check the box to the left of your test list
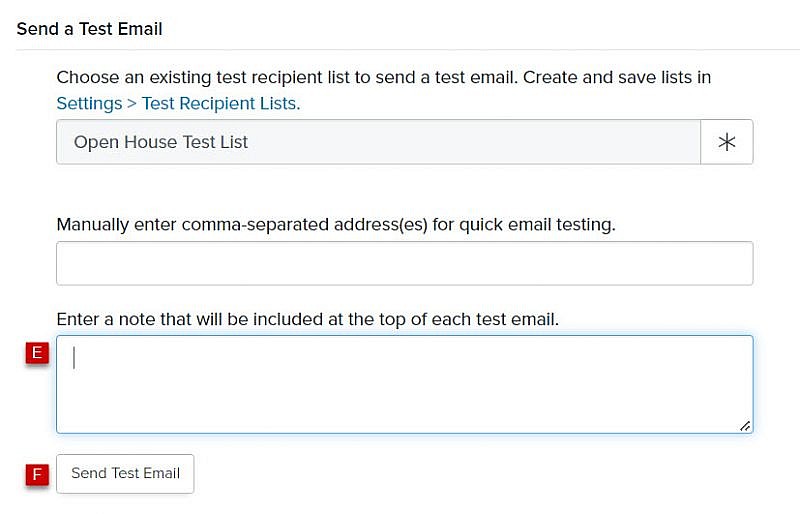
- Click Choose
- Enter a note in the text box. Your test recipient(s) will see the note each time you send a test email.
- Click Send Test Email
- Click
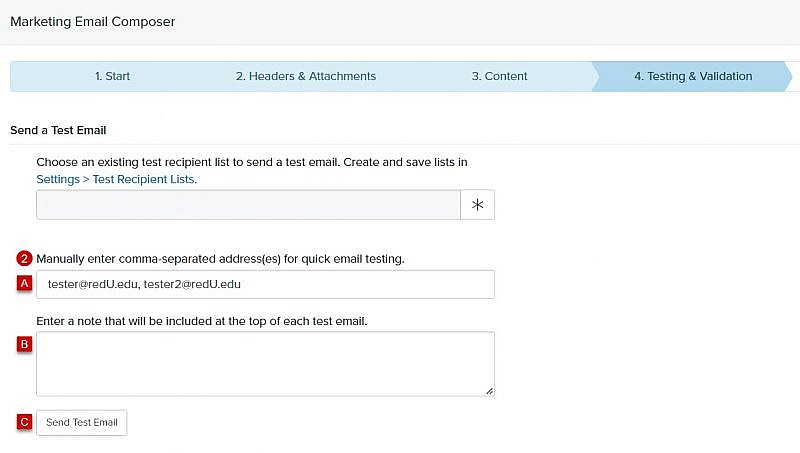
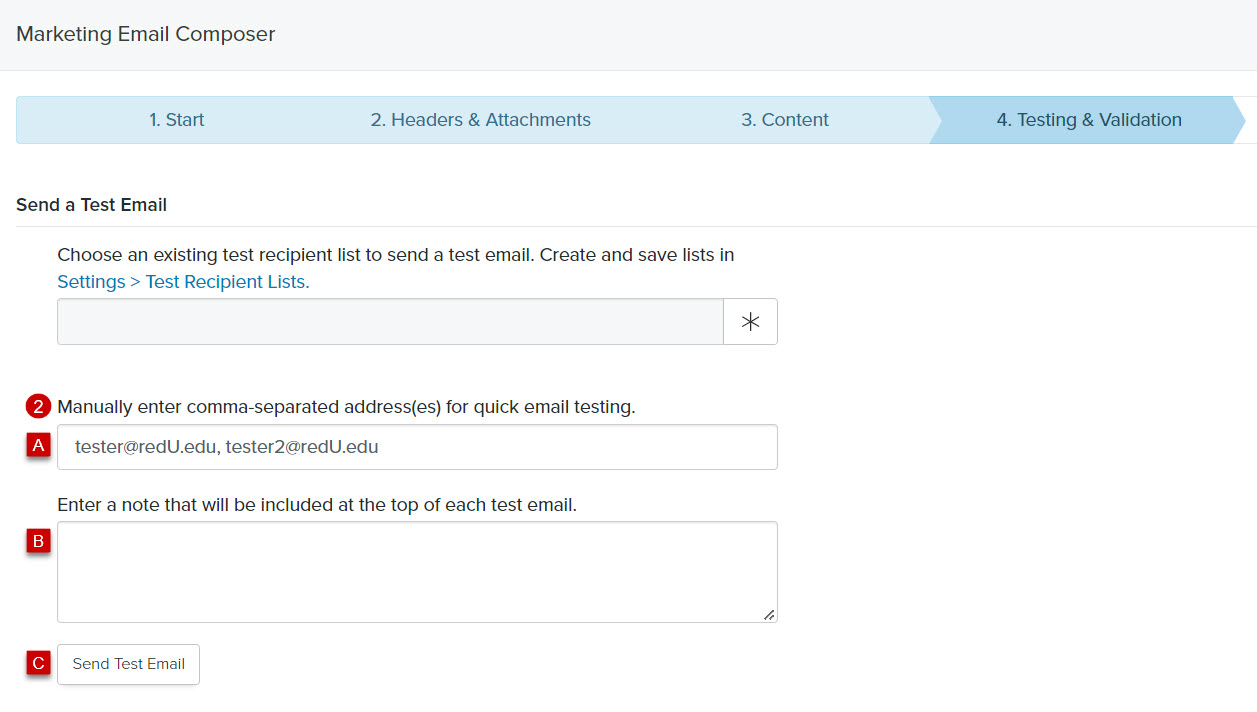
- Enter an Email Address(es) Manually
- For quick testing, enter one or more email address(es) manually
Tip: Make sure to use a comma to separate each email address - Enter a note in the text box. Your test recipient(s) will see the note each time you send a test email.
- Click Send Test Email
- For quick testing, enter one or more email address(es) manually
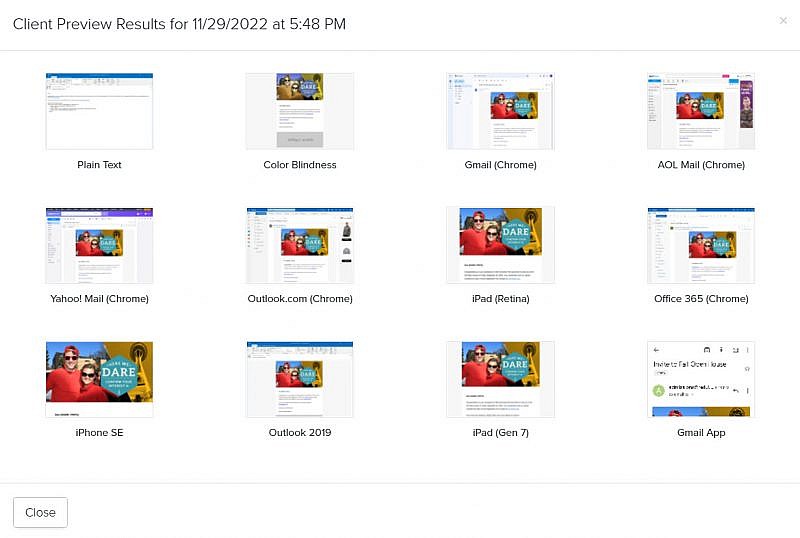
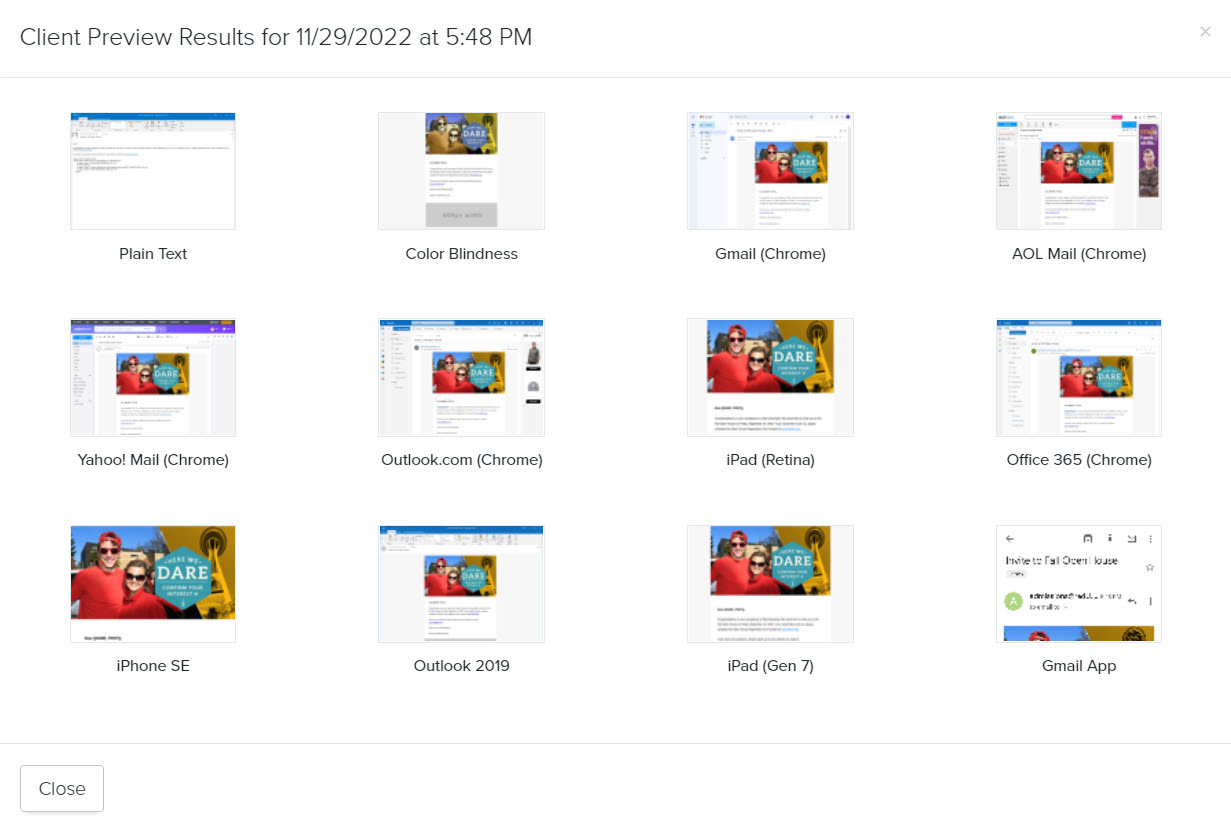
Email Client Preview
- Click Submit for Preview
- Click the link under View test results. You’ll see screenshots showing you how your email content will display in various email clients.
Tip: It may take a few seconds for your test results to display.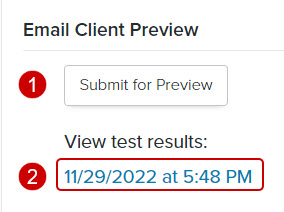
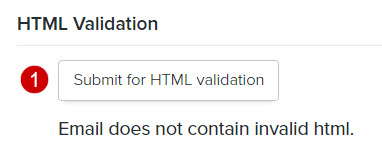
HTML Validation
- Click Submit for HTML Validation. A message will display indicating if there are any issues with HTML in your email.
URL Validation
- Click Submit for URL Validation. A message will display indicating if there are any issues with the links in your email.
- Click Save Changes or Save & Continue


Finish
Tip: Do NOT complete this section until you’re ready to publish (i.e., make your email available for use), schedule, or send your email.
System Action
A system action will automatically be posted to each of your email recipient’s records.
Tip: The system action field is a view-only field.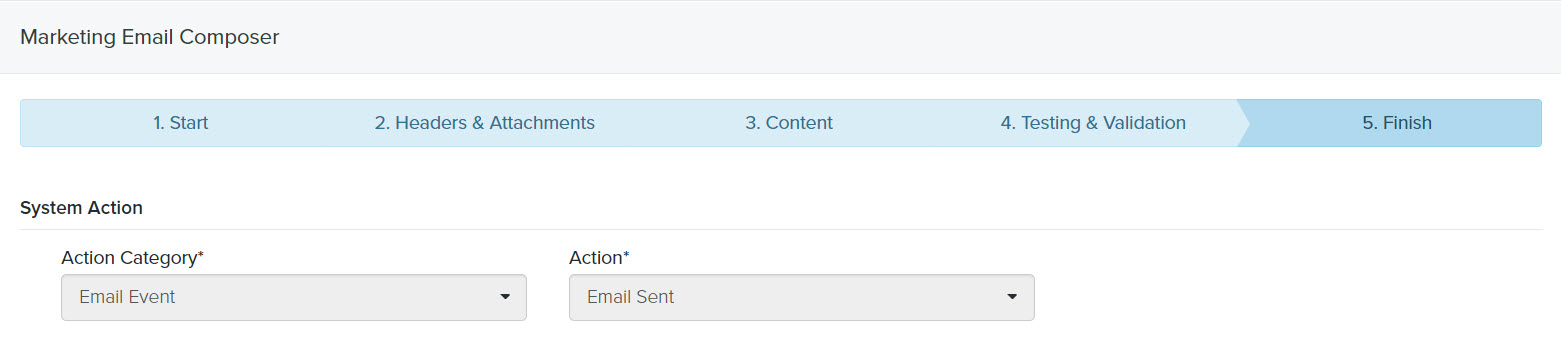
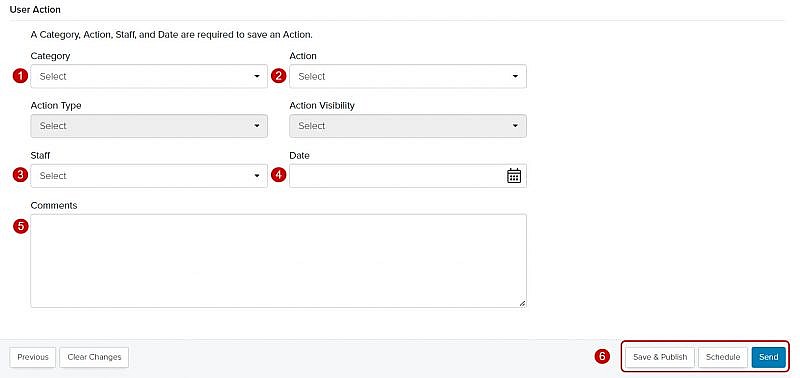
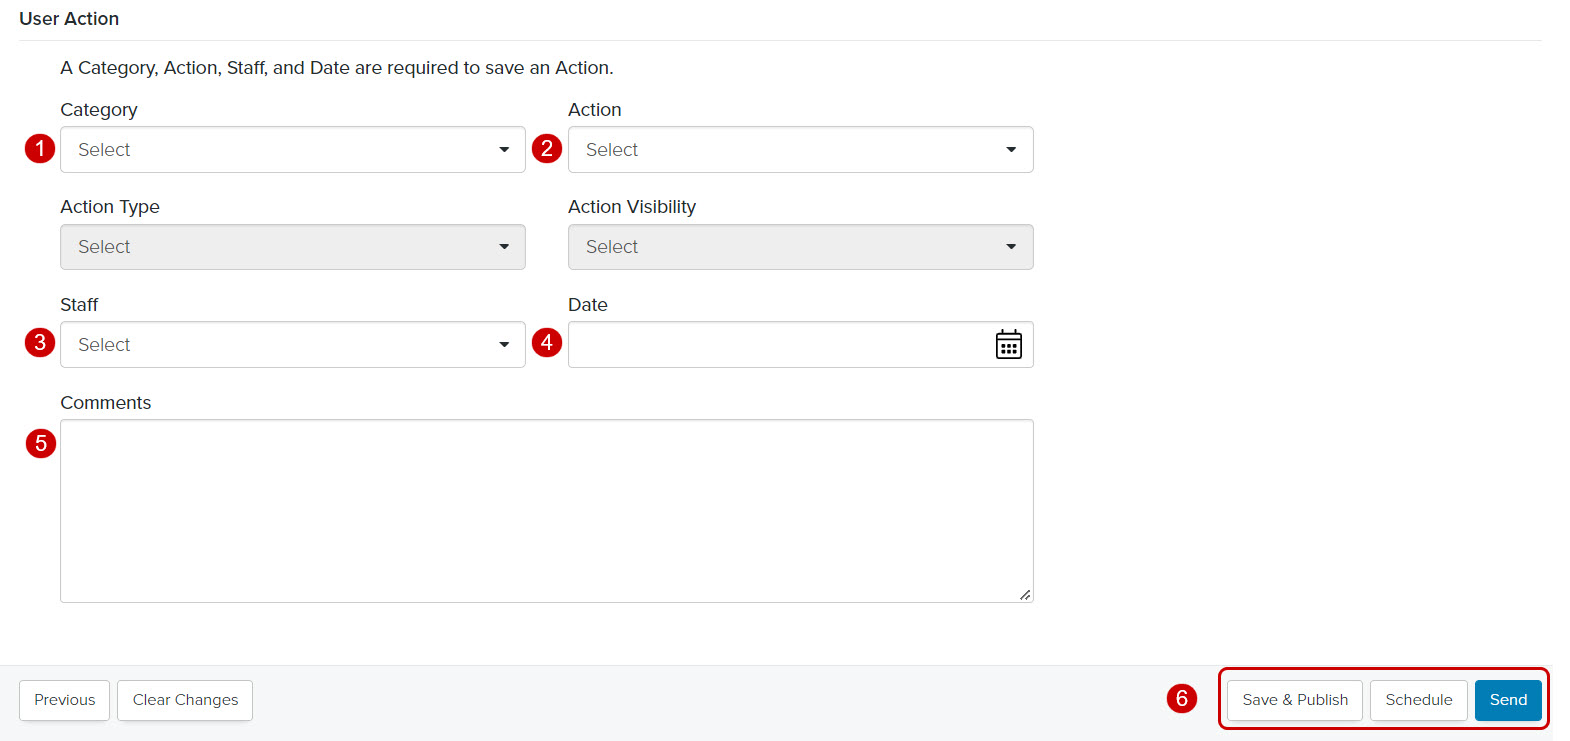
User Action
Prior to sending your email, you’ll need to determine what, if any, additional action you’d like to post to each of your email recipient’s records.
- Category: Select a category (e.g., Campus Event, Communication Flow, Travel) from the Category dropdown menu
- Action: Select an action (e.g., Counselor Interview, Academic Interest, College Fair) from the Action dropdown menu
- Staff: Select a staff member
- Date: Select a date and time by clicking

- Comments: Enter additional information about the the action, if appropriate
- Click Save & Publish, Schedule, or Send