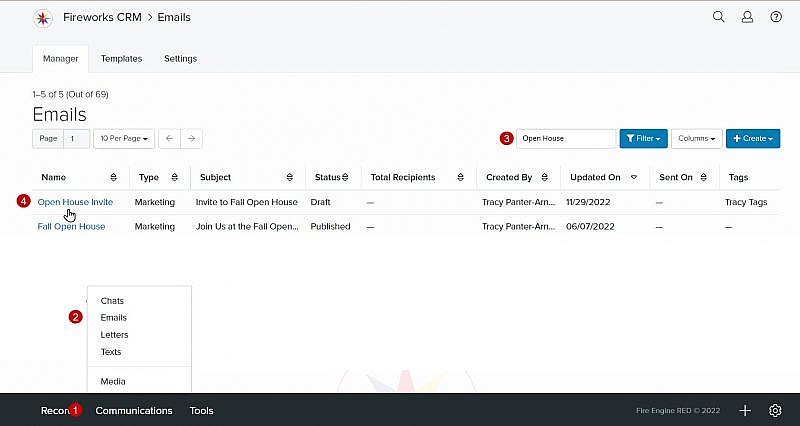
Navigation: Communications > Emails
Tip: There are two ways to schedule an email job. You can either use:
- The Scheduler. See Scheduler, Creating a Job, for instructions.
- The Email Composer. See Scheduling an Email Job directly below for instructions.
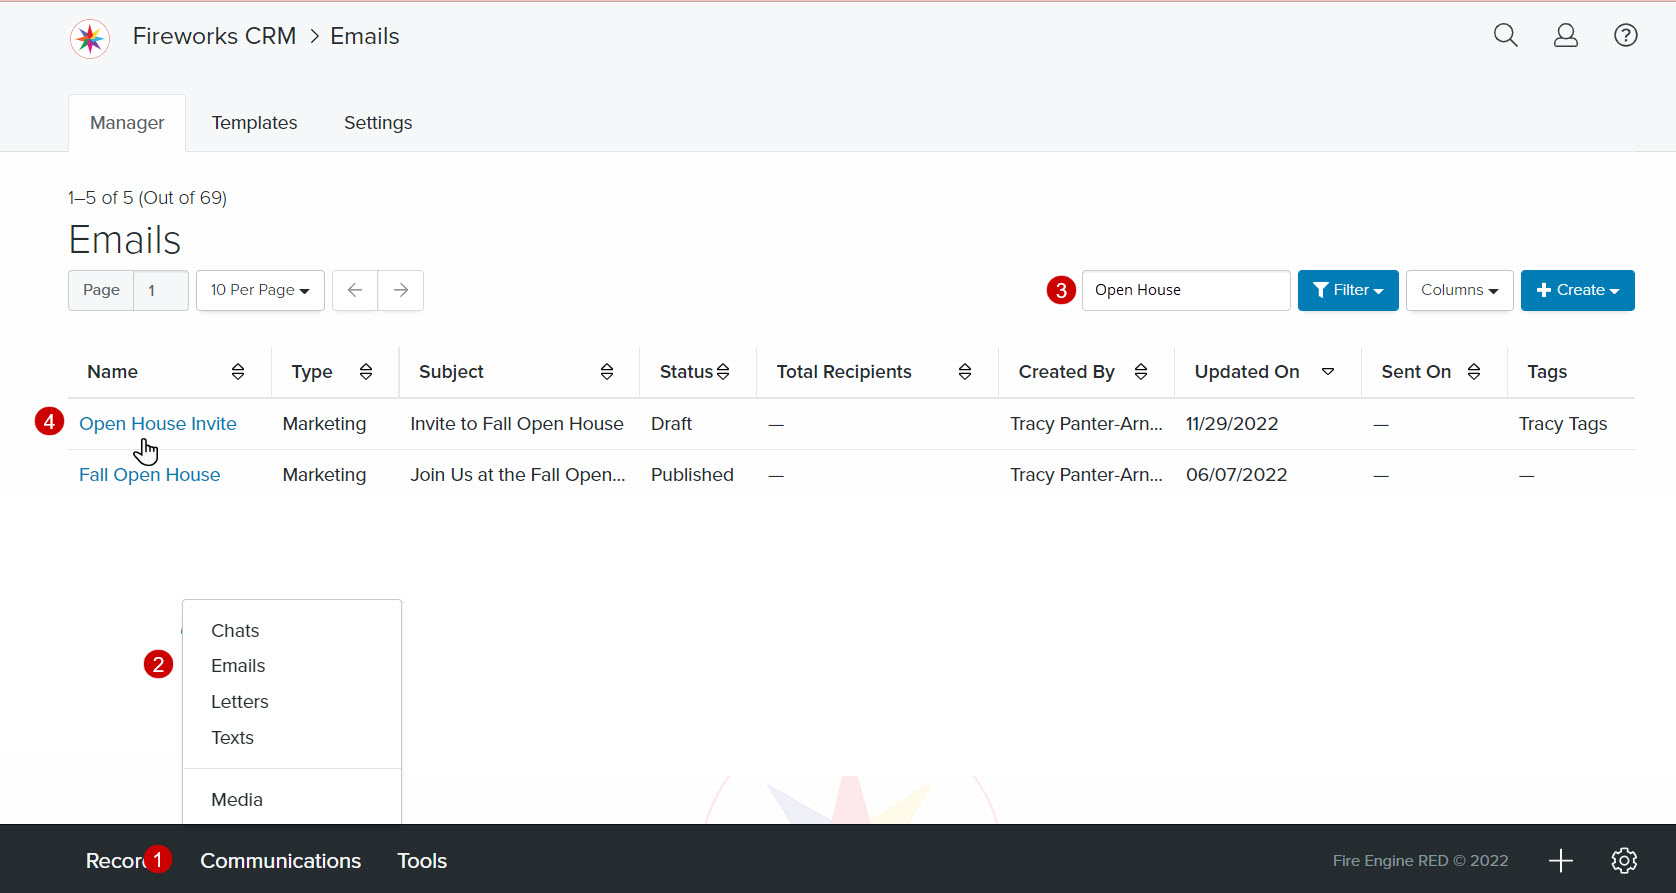
- From the bottom navigation bar, click Communications
- Click Emails. The Email Manager will display.
- In the Search field, enter the name of the email you want to schedule or scroll through the list of emails on the page
- Click the name of the email. The Email Composer will display.
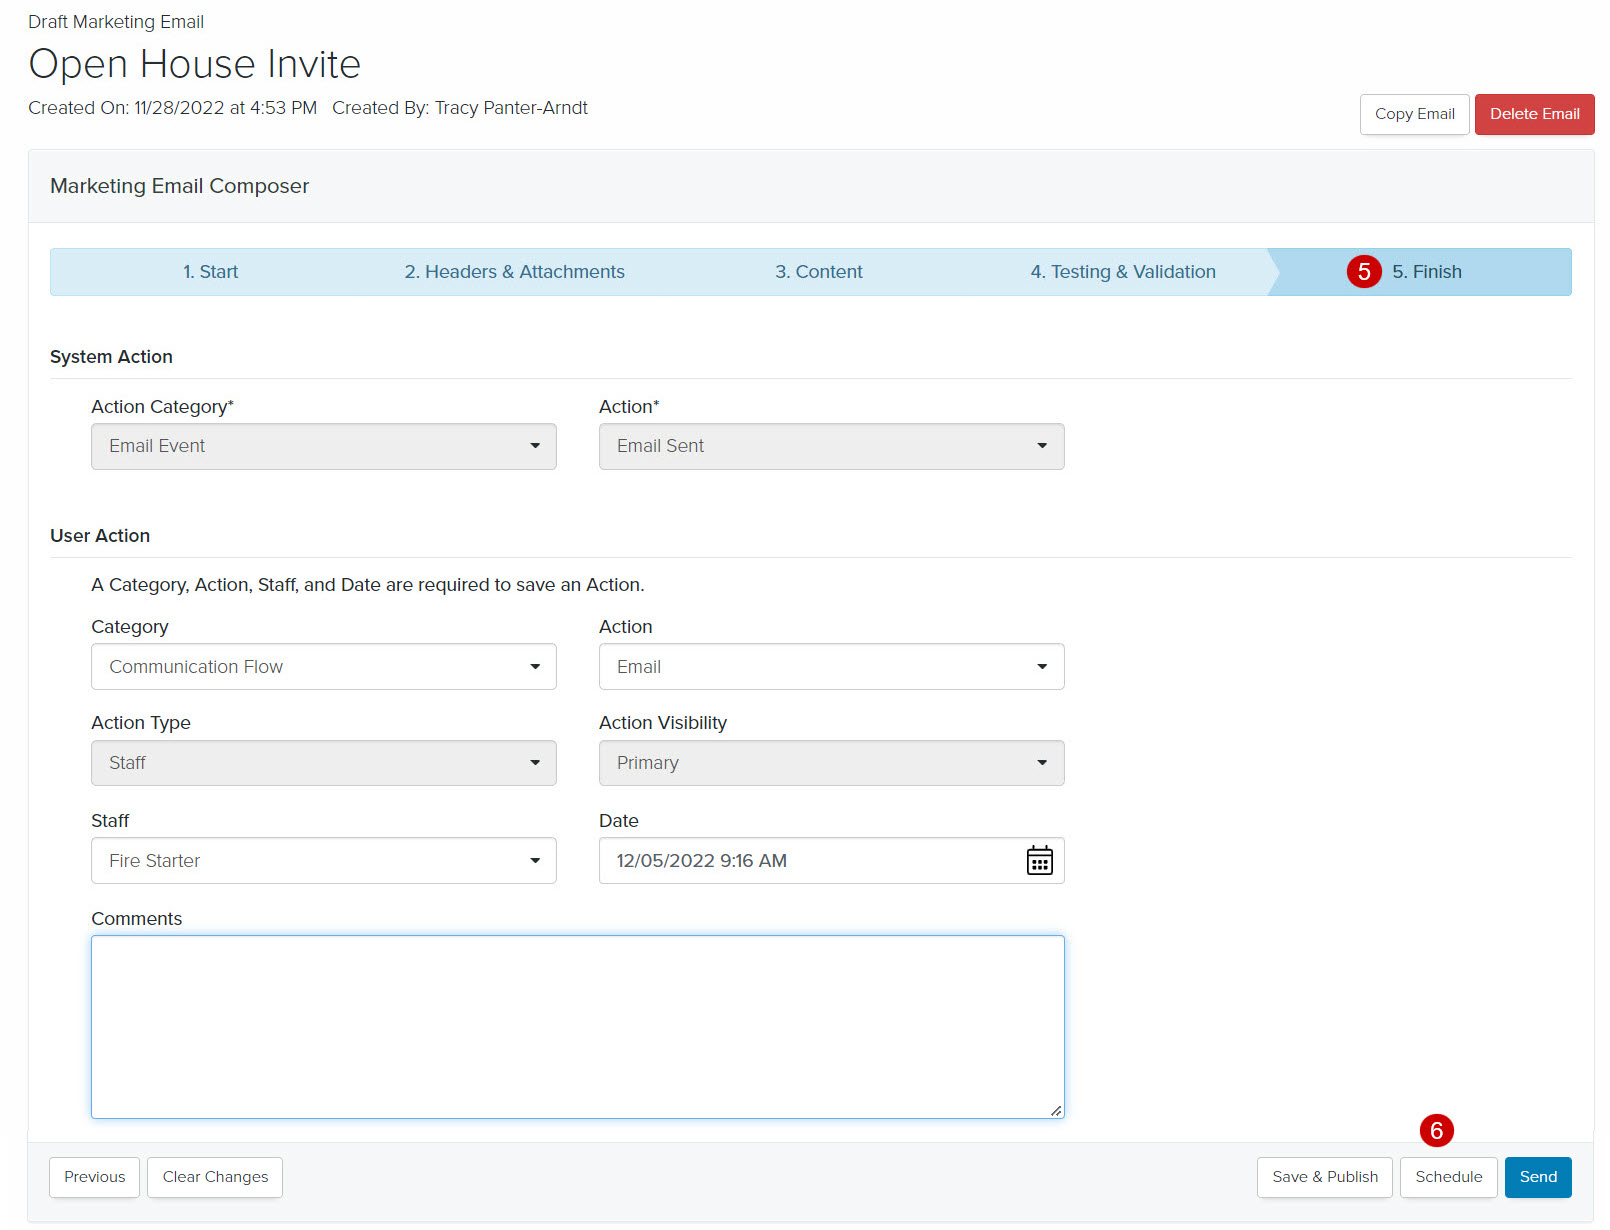
- Click Finish
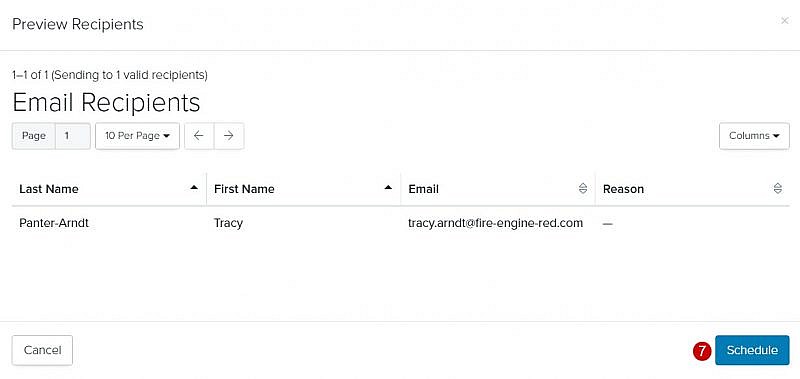
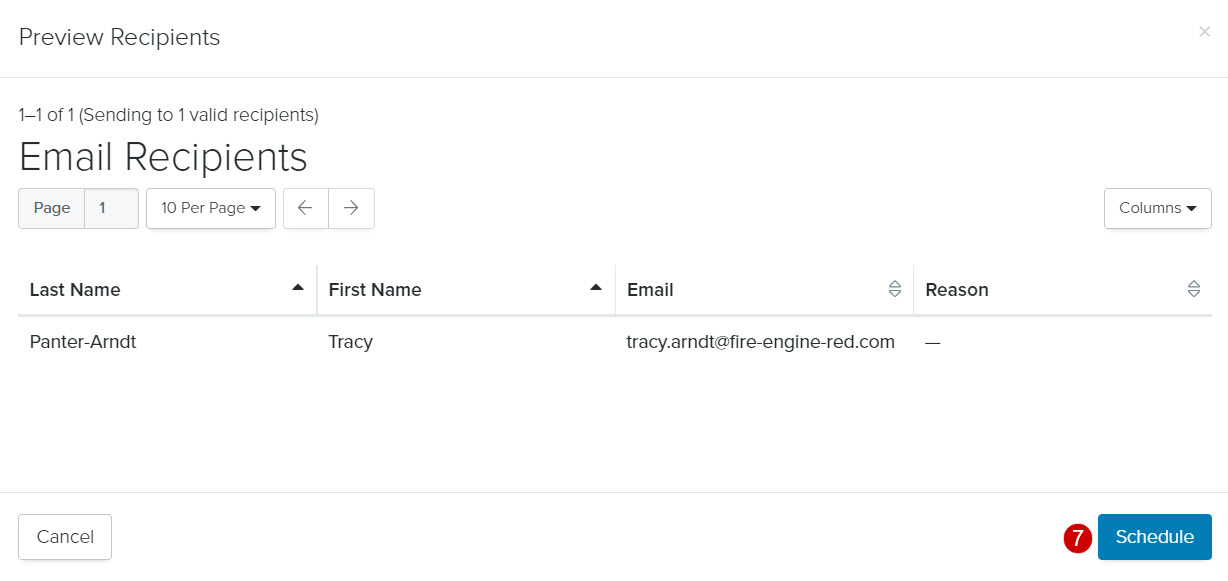
- Click Schedule. The Preview Recipients window will display notifying you of the number of valid email recipients.
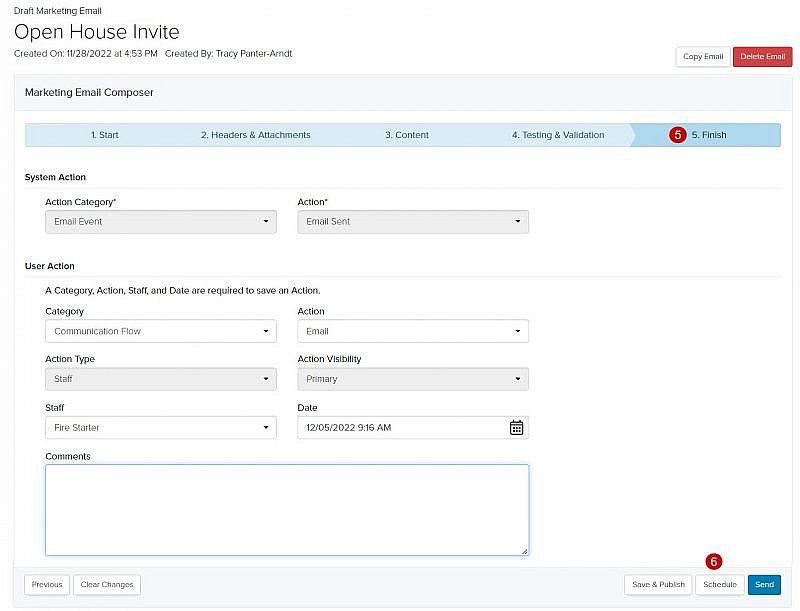
- Click Schedule. The Email Job Composer will display.
Using the Email Composer to Create an Email Job
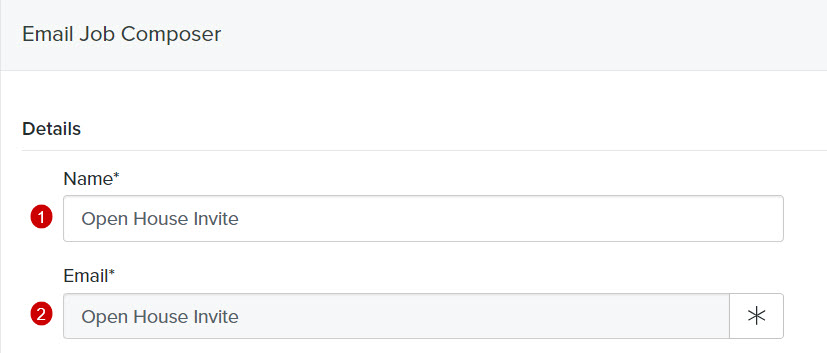
Details
- Name: Enter the name of your email job
- Email: The name of your email
Tip: The Email field is view-only. It will default to the name of the Email you’re scheduling.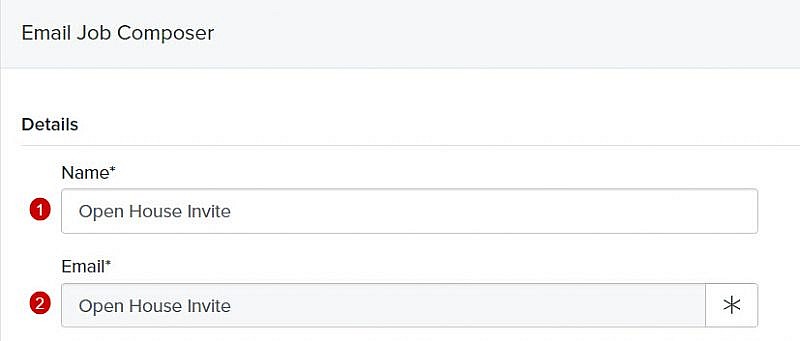
- Start Date and Time:
-
- Click


- Select the first date you want to send the email
- Click

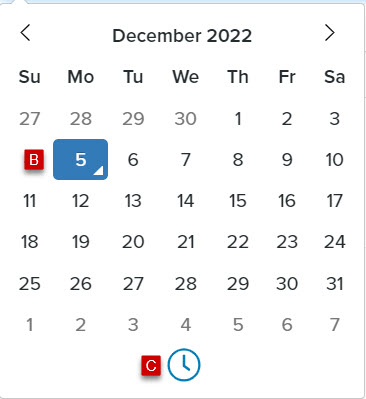
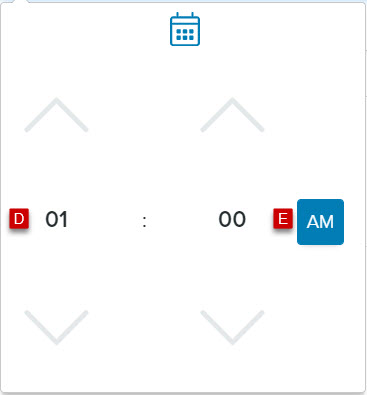
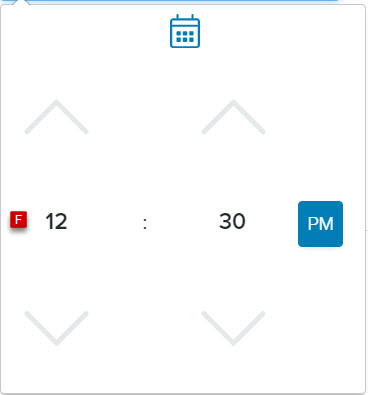
- Select the first time you want to send their email
- Click Toggle Period to update the AM/PM
- Click
- Time Zone: Select the time zone from the Time Zone dropdown menu
- Active: The Active box is checked by default.
Tip: If you want to pause a scheduled email, uncheck the box next to Active.


Occurrences
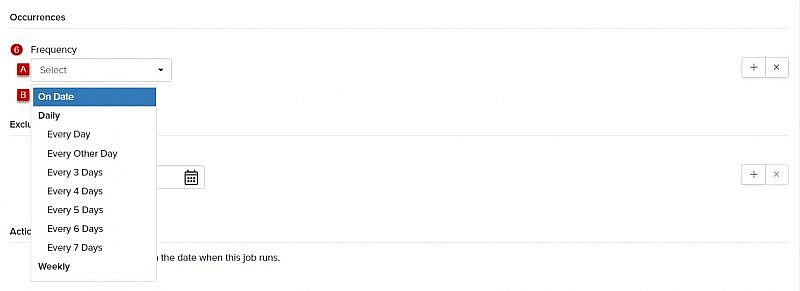
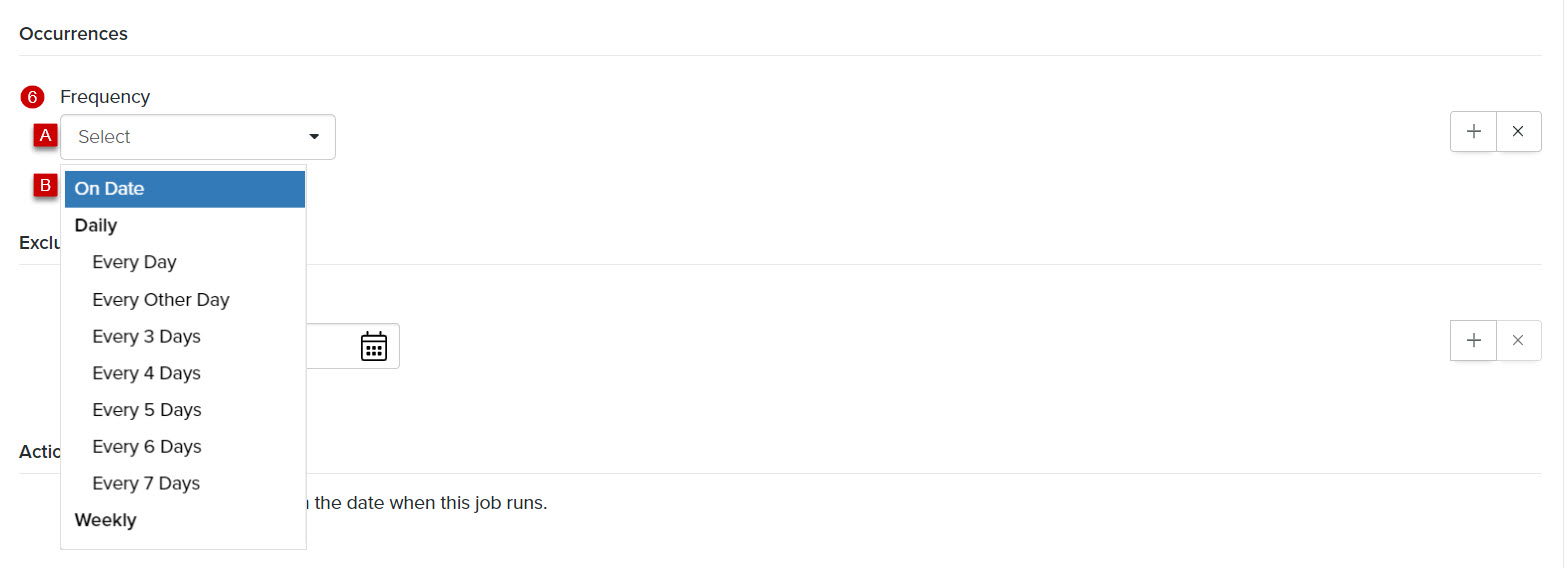
- Frequency
If you want to send your email one time:
-
- Click Select
- Click On Date. The Date and Time fields will display.
- Click
- Select the date you want to send the email
- Click
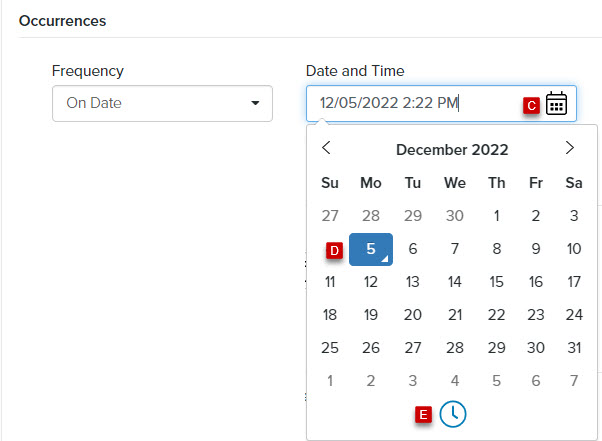
- Select the time you want to send the email
If you want to send your email multiple times:
-
- Click Select
- Click how frequently you want to send the email. The appropriate Day, Time, and End Date fields will display.
- Complete the details, as needed
Tip: To schedule more than one type of occurrence, click ![]() .
.
Tip: To remove an occurrence(s), click ![]() .
.
Tip: If a day does not exist in your recurring schedule (e.g., February 29), the email job will not run.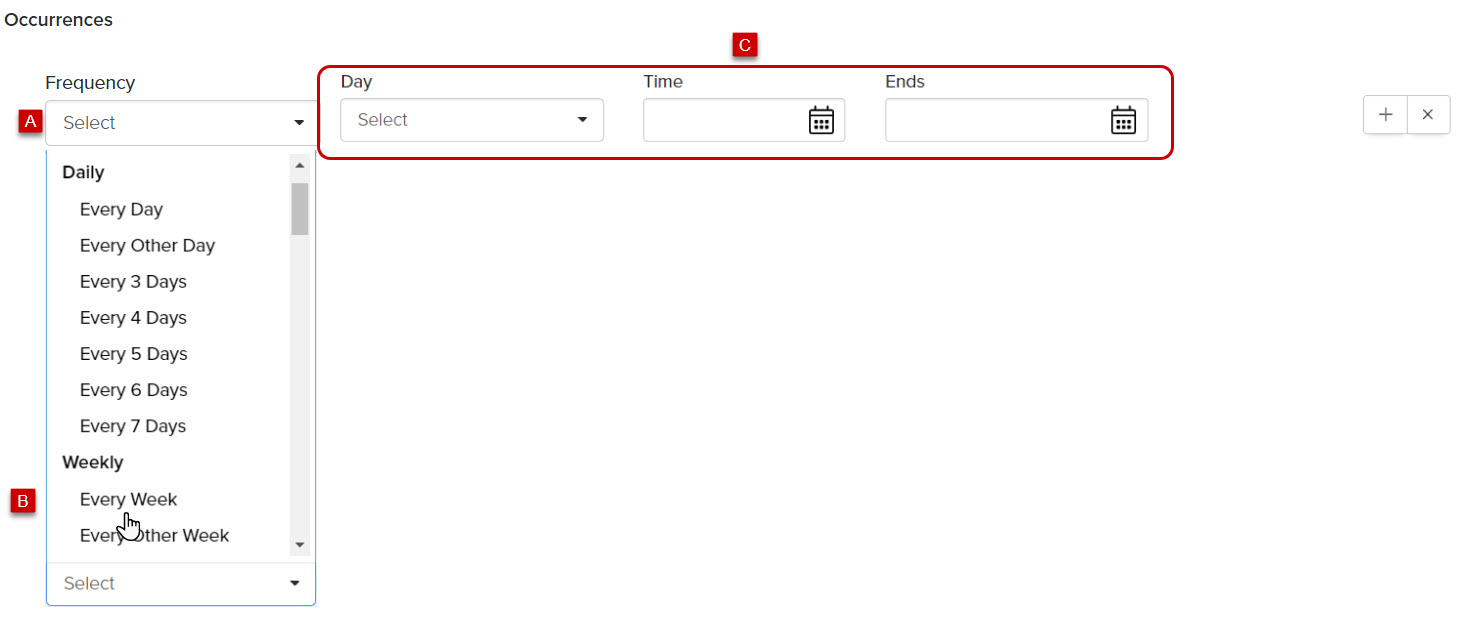
Exclude
- Date
- Click
- Select the date that you do not want to send your email
- Click
Tip: You can add as many exclusion dates as needed by clicking(e.g., If you send an email on the first day of every month, you can exclude January 1, New Year’s Day.)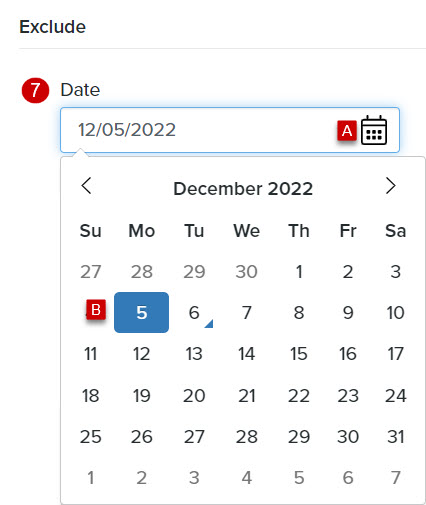
Action
- Override Action Date with the Date when this Job Runs: When the box is checked, the action date will match the date your email was sent.
Tip: If you want the action date to ALWAYS be the date you created your email, rather than the date your email was sent, uncheck the box.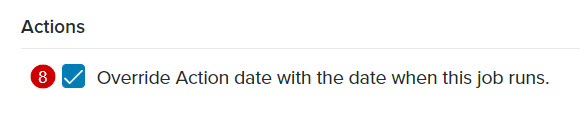
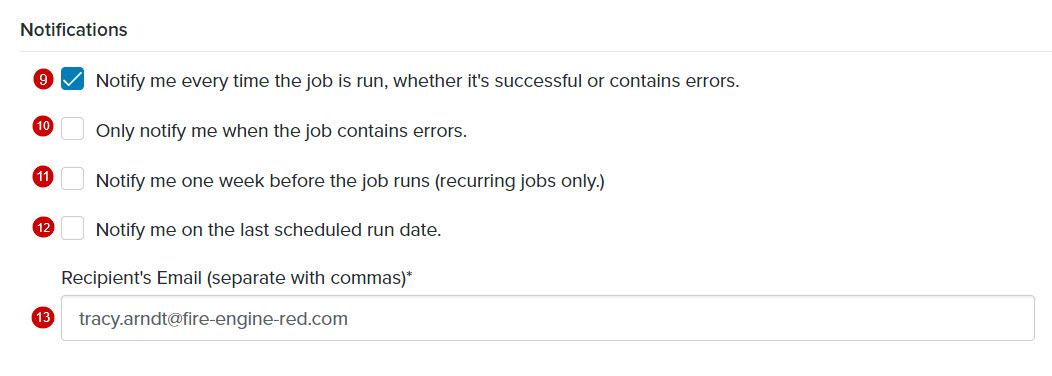
Notifications
- Notify me every time the job runs: If you want to receive a notification once your email is sent, whether it’s been successfully delivered or contains error(s), check the box
Tip: This is the default setting. - Only notify me when the job contains errors: If you want to receive a notification when your email is sent only if your email contains error(s), check the box
- Notify me one week before the job runs: If you want to receive a notification one week before the first time your email is scheduled to be sent, check the box
Tip: We recommend that you use this notification to double-check your email content and email recipient list are still accurate. - Notify me on the last scheduled run date: If you want to receive a notification when your email is sent for the last time, check the box
- Recipient’s Email: Enter the email address(es) of each staff member who should receive the email notification(s)
Tip: If multiple staff members will be receiving a notification(s), make sure to use a comma to separate each email address.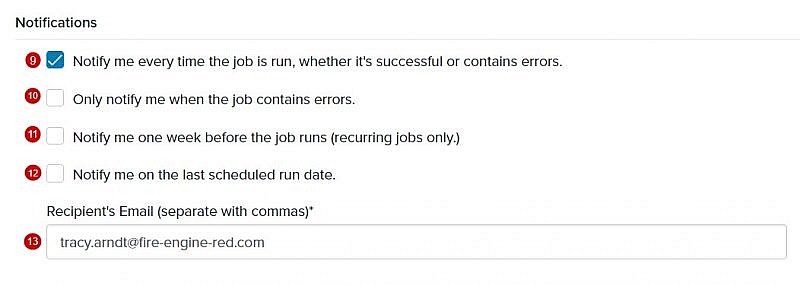
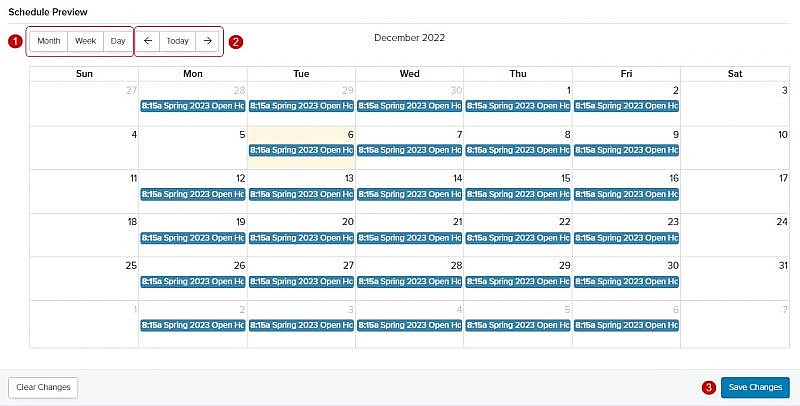
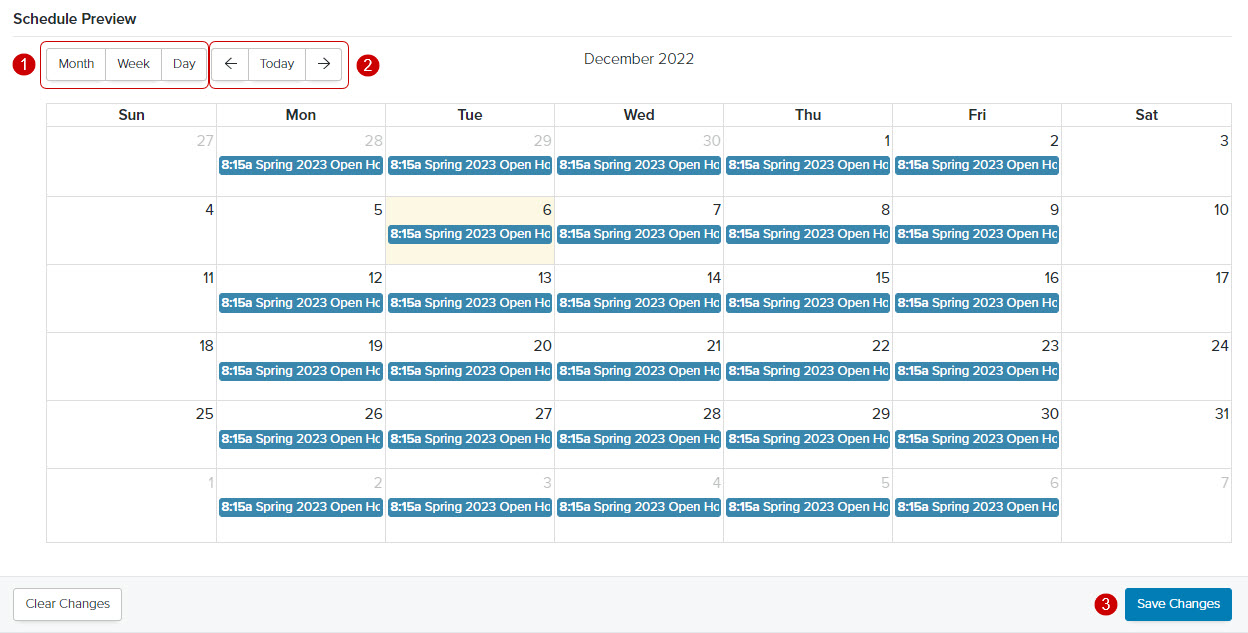
Schedule Preview
- Click Month, Week, or Day to select your preferred calendar view
- Depending on the view you’ve selected, use the Navigation Arrows to scroll from month to month, week to week, or day-to-day
- Click Save Changes. All of your scheduled send dates and times will be displayed on the preview calendar.
Tip: The preview calendar will display all of your scheduled run dates and times