Navigation: Tools > Smart Search
Accessing the Smart Search Composer
- From the bottom navigation bar, click Tools
- Click Smart Search. The Smart Search Manager will display.
- Click +Create. The Smart Search Composer will display.
Tip: Staff Records are not available as criteria in Smart Searches.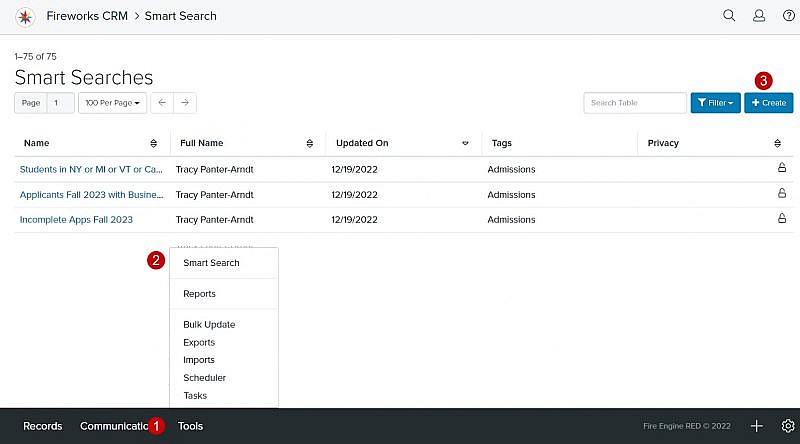

Using the Smart Search Composer
-
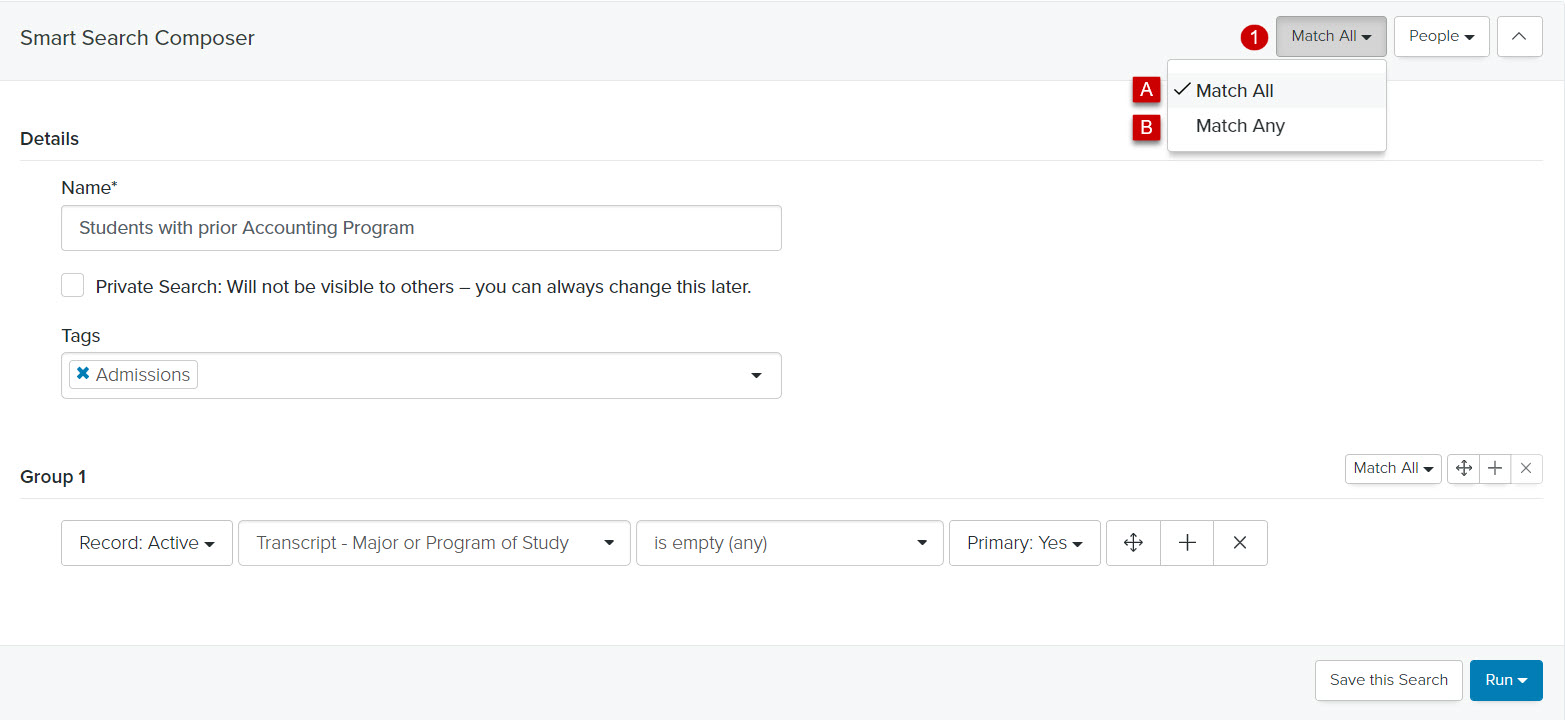
From the right of the Edit Smart Search header, you have two options for Match Type (the default is Match All)
-
- Select Match All, if the results should match ALL conditions between the groups.
Tip: This is equivalent to an AND statement. The Match Type can be changed at any time. - Select Match Any, if the results should match ANY of the conditions between the groups
Tip: This is equivalent to an OR statement. The Match Type can be changed at any time.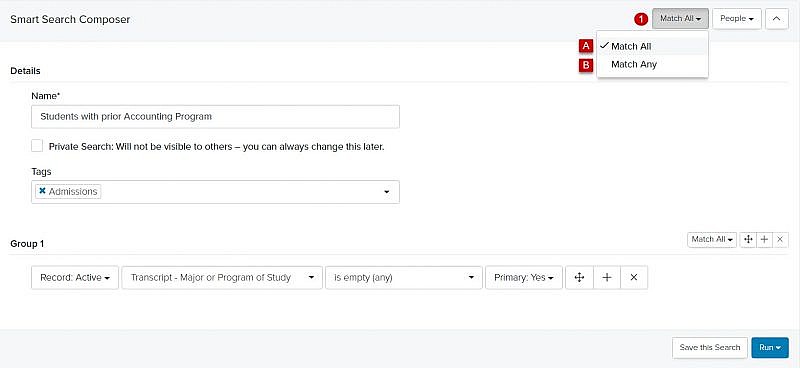
- Select Match All, if the results should match ALL conditions between the groups.
-
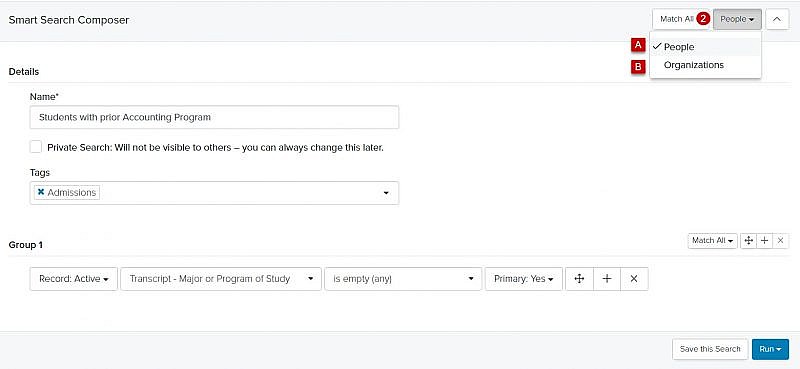
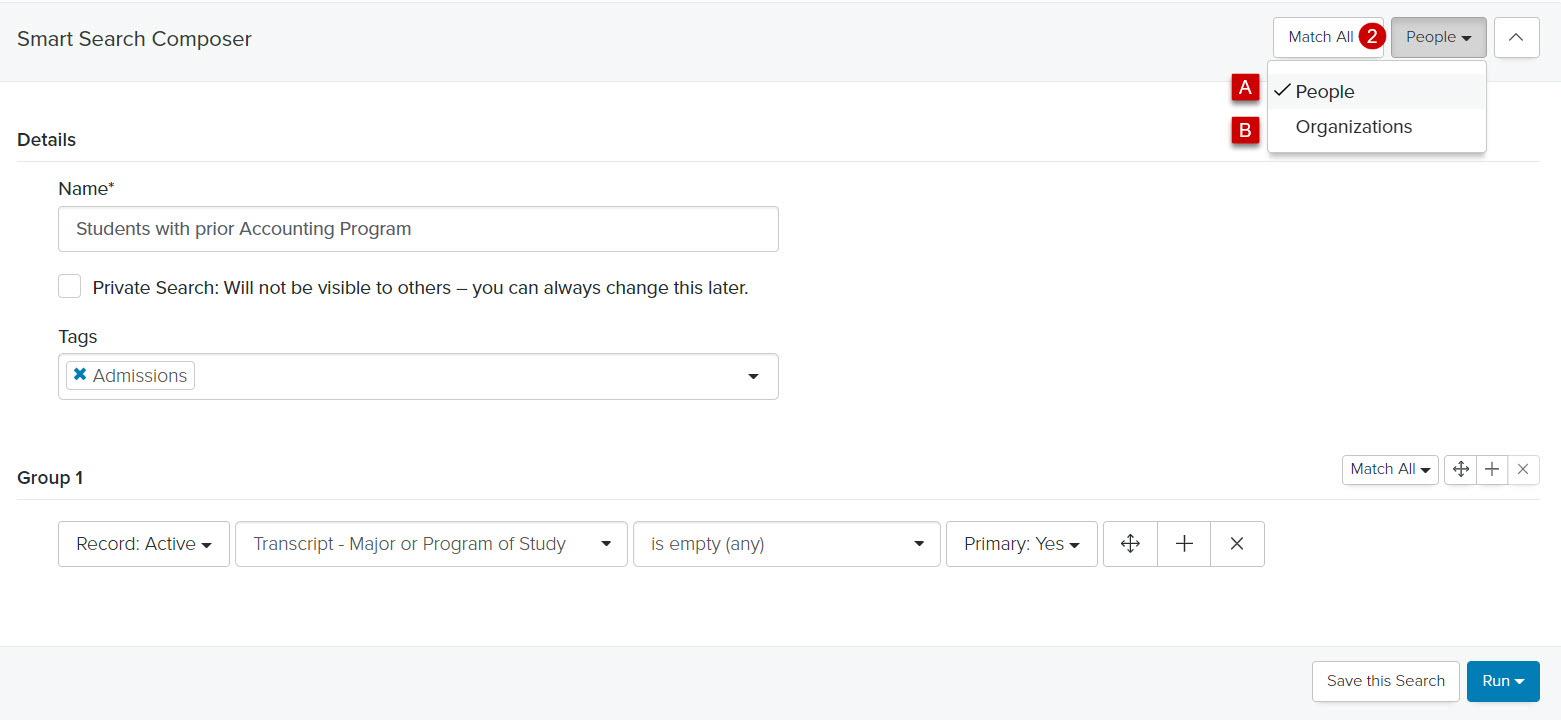
You have two options for Records Type (the default for records type is People)
- Select People, if the results should include people records (students, parents, alumni, etc.)
- Select Organization, if the results should include organization records (high schools, colleges, business’, etc.)
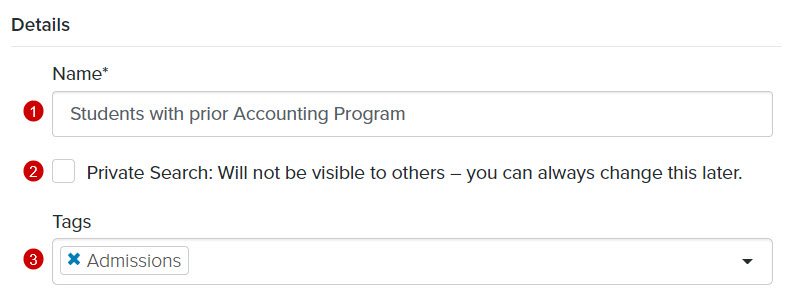
Details
- Name: Enter the name of the Smart Search
- Private Search: If you want your Smart Search to be visible and usable by only you, check the Private Search box
Tip: If your Smart Search will be used in communications, the Private Search box should not be selected. - Tags: Select a Tag from the Tags dropdown menu
Group Fields
- You have two options:
- Select Match All, if the results should include records matching all conditions within a group
Tip: This is equivalent to an AND statement (e.g., students in the Accounting major and Accounting minor) - Select Match Any, if the results should include records matching ANY of the conditions within a group
Tip: This is equivalent to an OR statement (i.e., students in the Accounting major or students in the Accounting minor)
- Select Match All, if the results should include records matching all conditions within a group
- Record Status: Click the Record Status dropdown menu to select the status (e.g., Active, Suspended, Archived, Any) of the record
Tip: The default for record status is Active.
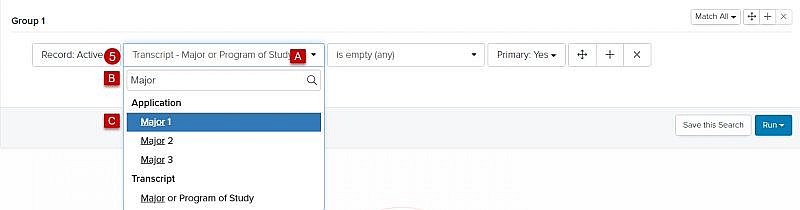
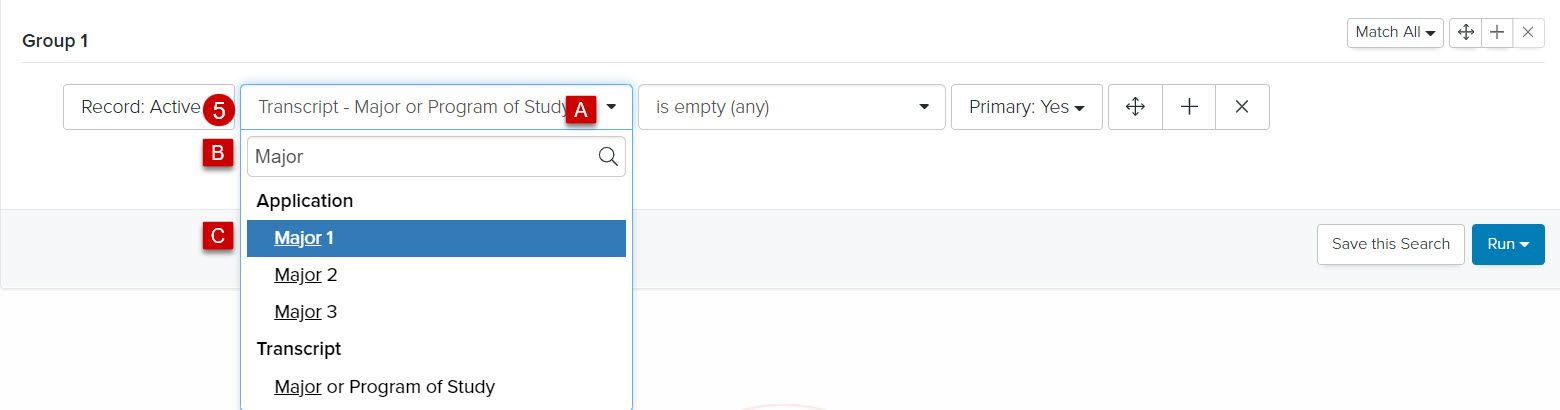
- Condition Type: Select the field you want to use in your Smart Search
- Click the Condition Type dropdown menu
- In the Search field, enter the name of the field you want to use in your Smart Search or scroll through the list of fields on the Condition Type dropdown menu
- Select the field value you want to use in your Smart Search. The field value will display in the Condition Type field.
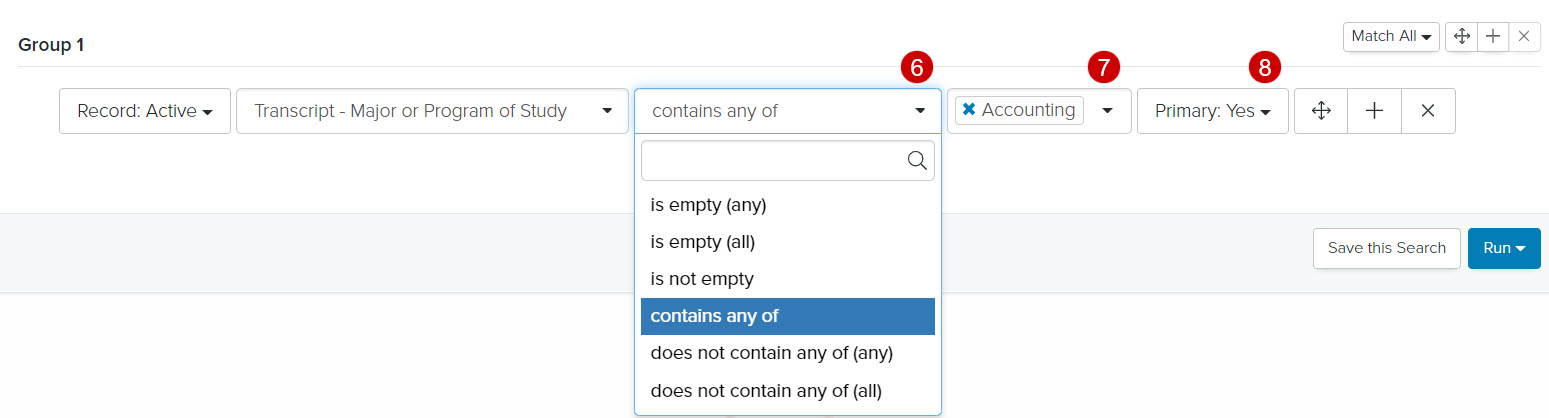
- Operator: Click the Operator dropdown menu and select the operator you want to use. See Smart Search Terminology for a complete list of operators and descriptions.
- Condition Value: Enter or select the field values you want to define in your Smart Search criteria.
- Primary: Click the Primary dropdown menu and select the type (e.g., Yes (Primary), No (Non-Primary), or Any (Primary or Non-Primary) of field that you want to include in your Smart Search, if applicable
Tip: The default for field value is Yes.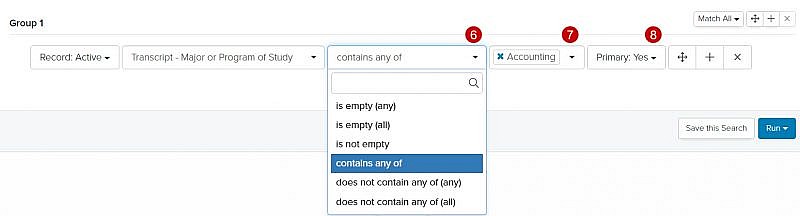

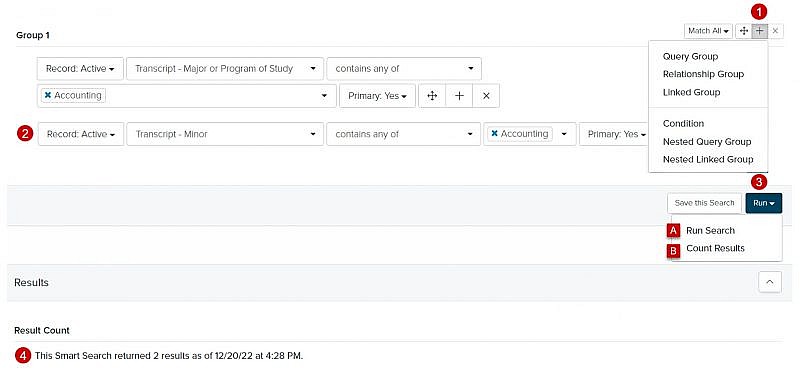
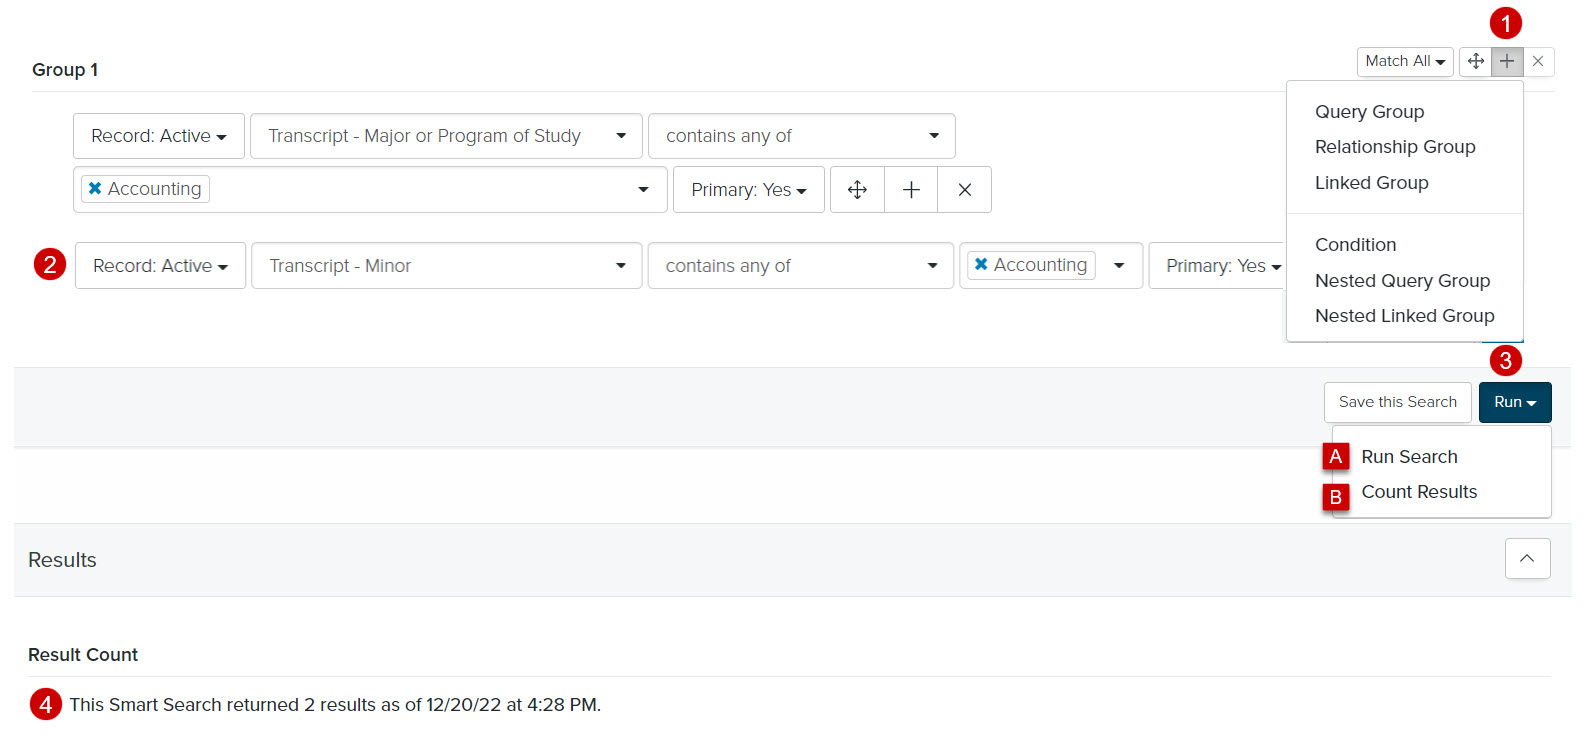
Adding a Query Group
- Click
 to select a new Group Type or Condition. See Smart Search Terminology, Query Group Types for an explanation of Group Type.
Tip: To remove the original group, click , to reorder a group, click
  and drag to a new location. The groups will automatically renumber.
 - Go to the Group 1 section above and repeat steps 3-8
- You have two Run options:
- Run Search: Shows the record results and the total number of records
- Count Results: Shows only the total number of records
- Review the results of your Smart Search to ensure the results are correct