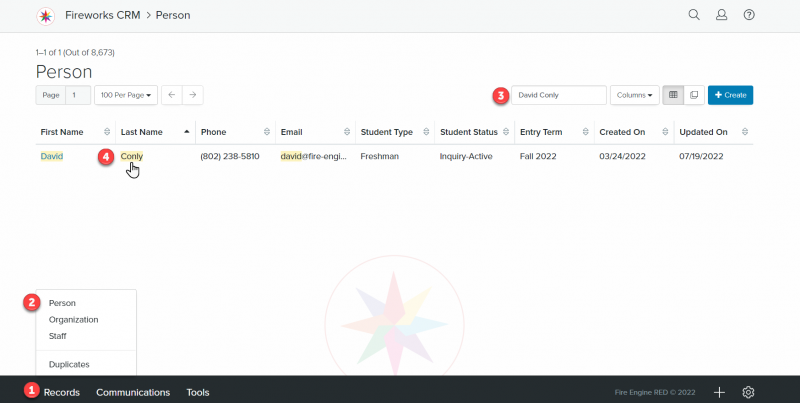
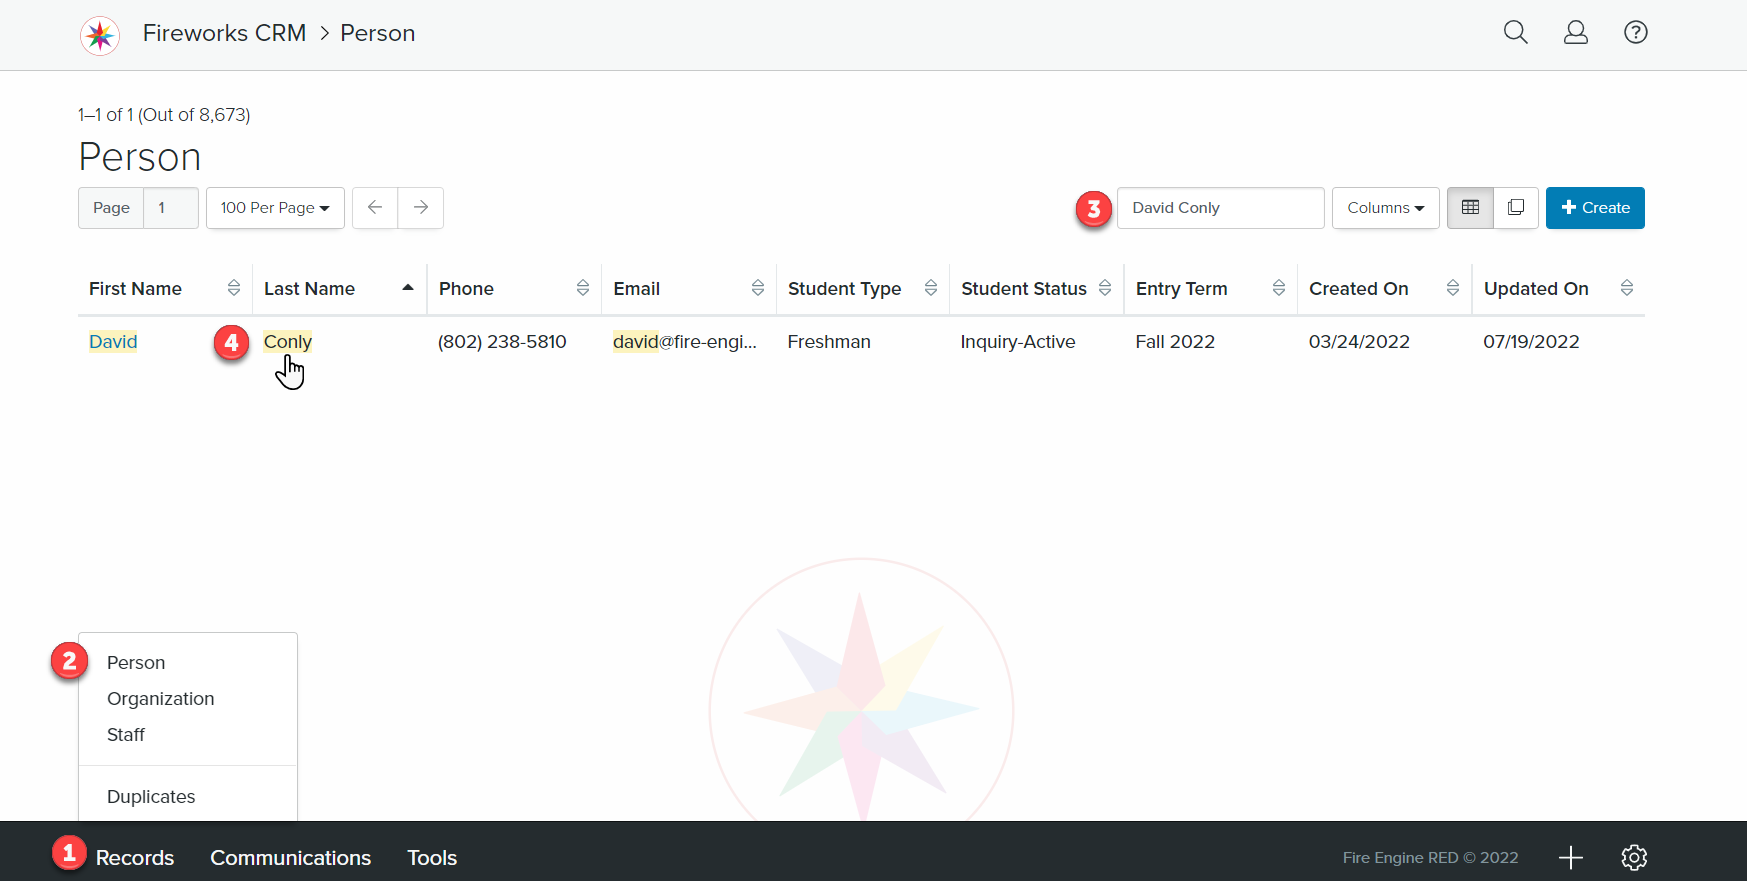
Navigation: Records > Person
- From the bottom navigation bar, click Records
- Click Person. The Person Manager will display.
- In the Search field, enter the name of the person record you want to delete or scroll through the list of people records on the page
- Click the name of the person. The Person Record page will display.
- Click Send Message
- Select Email. The Direct Email Composer will display.
Tip: Direct emails may be sent to any person regardless of their email opt-in status.
The Direct Email Composer
The Direct Email Composer has four sections that you’ll need to complete.
- Message Header
- Attachments
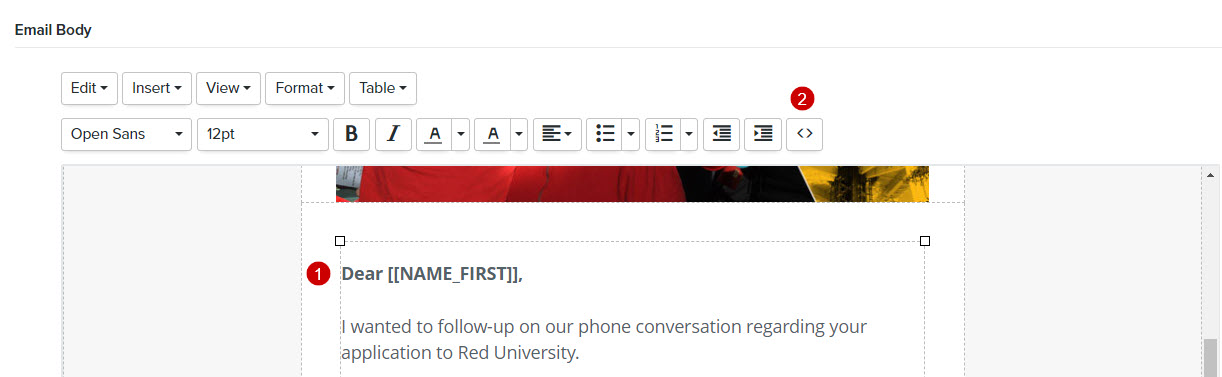
- Email Body
- User Actions
Message Header
- From: The email address will default to your email
- To: Select the email address that you wish to send the message to
- Subject: Enter the subject of the email
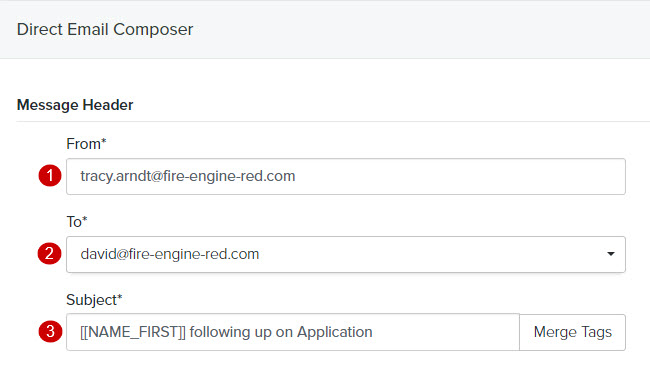
- To personalize your subject, you can insert Merge Tags
- Place your cursor in the subject where you want to insert a merge tag
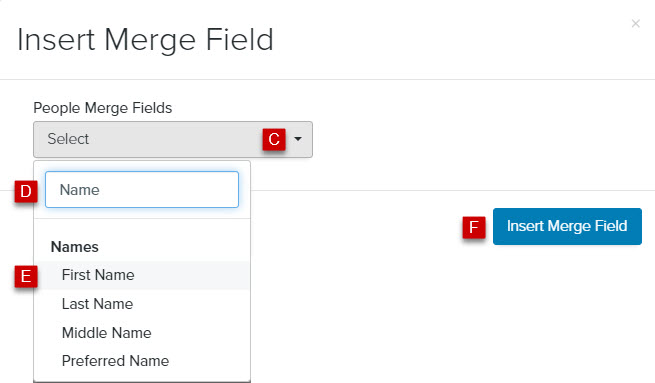
- Click Merge Tags. The Insert Merge Field window will display.

- Click the People Merge Fields dropdown menu
- In the Search field, enter the name of the merge field you want to insert or scroll through the list of merge fields in the dropdown menu
- Click the field name that you want to insert
- Click Insert Merge Field. The Merge Field will populate in the subject field
- Tags: Select a Tag from the Tags dropdown menu, if applicable
Tip: A tag must be created in the Tag manager prior to selecting a tag from the dropdown
Attachments
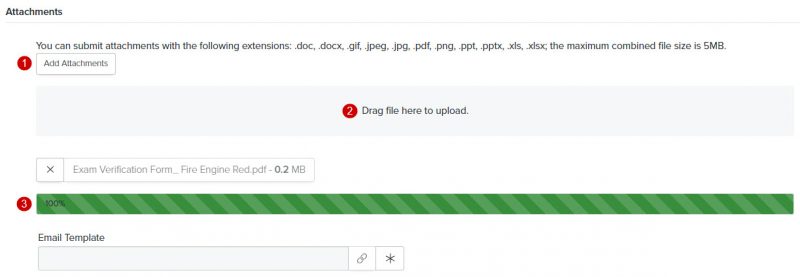
Tip: Although you can add an attachment(s) to your email, we strongly recommend that you do not do this because the attachment(s) could trigger spam blockers and cause deliverability issues. Instead, we encourage you to insert one or more link(s) in your email and link your recipients to the files hosted in the Media Library.
Select your file by either:
- Clicking
 , or
, or - Dragging the file to the designated area labeled Drag Files here to upload
Tip: Accepted file formats: doc, docx, gif, jpeg, jpg, pdf, png, ppt, pptx, xls, and xlsx. - Your attachment will be visible above the Email Template field with an upload
- Email Template: Choose an email template
Tip: If you want to create an email from scratch, leave the Email Template field empty and move to the Email Body.
- Click
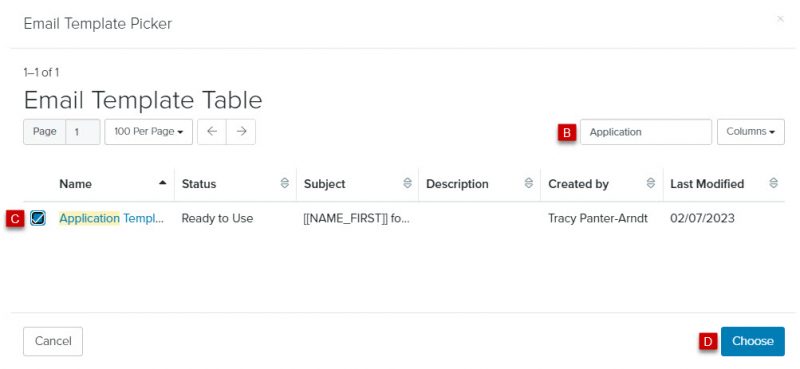
 to the right of the Email Template field. The Email Template Picker will display.
- In the Search field, enter the name of the email template you want to use or scroll through the list of email templates on the page
- Check the box to the left of the email template
- Click Choose. The email template will populate the Email Template field.
- Click


Body Content
The Content section enables you to create an HTML email.
HTML
There are two ways to create the content of your HTML email:
- Use the What You See Is What You Get (WYSIWYG) editor
- Copy and paste the HTML code into the
 Source Code window
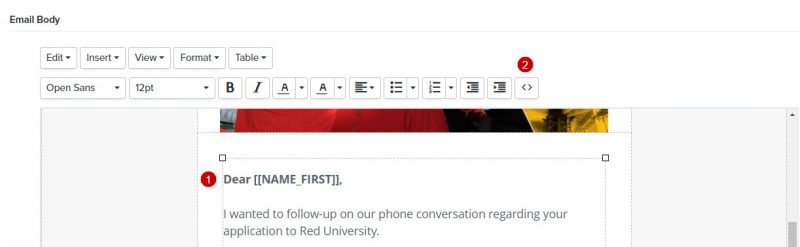
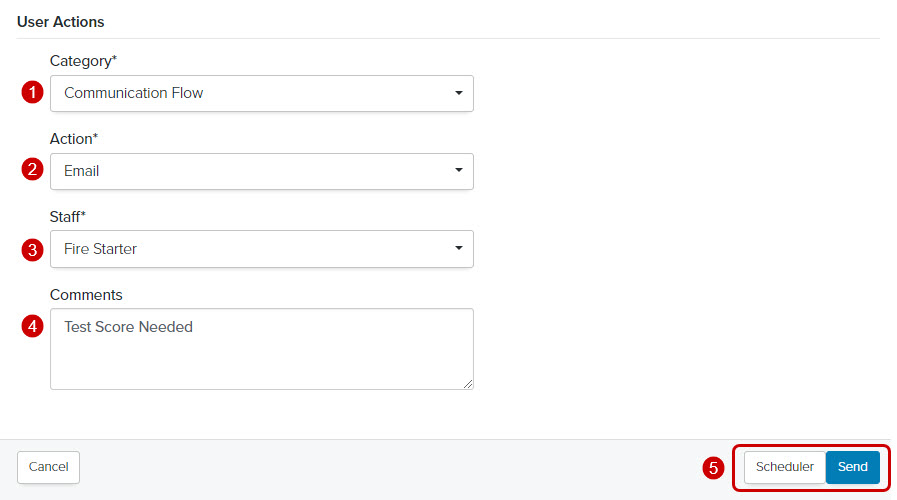
User Action
Prior to sending your email, you’ll need to determine what, if any, additional action you’d like to post to each of your email recipient’s records.
- Category: Select a category (e.g., Communication Flow) from the Category dropdown menu
- Action: Select an action (e.g., Email) from the Action dropdown menu
- Staff: Select a staff member
- Comments: Enter additional information about the the action, if appropriate
- Click Scheduler or Send
Tip: Sending a direct email from a person record does not require a minimum SpamAssassin score of 65% like sending an email from the emails manager.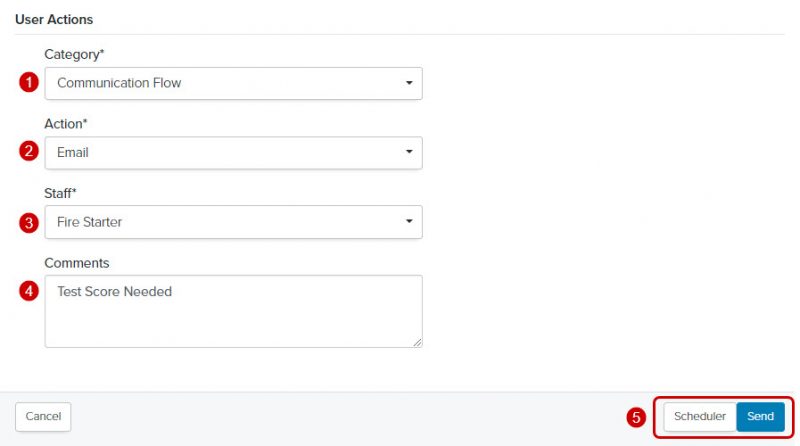
Tip: Once the email message has been sent, you will be returned to the student record.