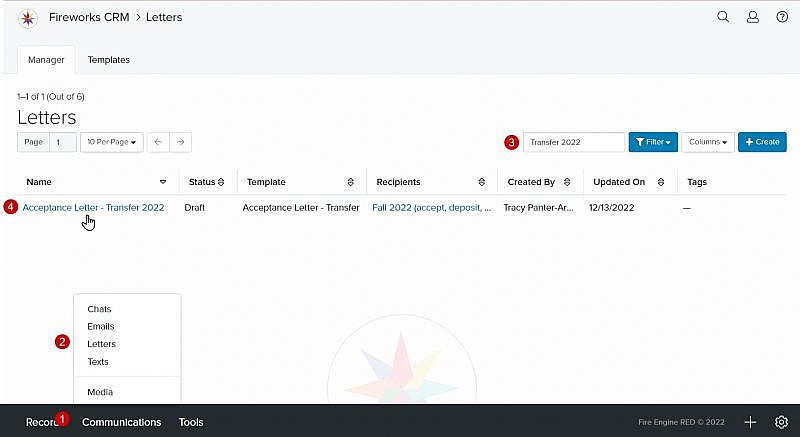
Navigation: Communications > Letters
- From the bottom navigation bar, click Communications
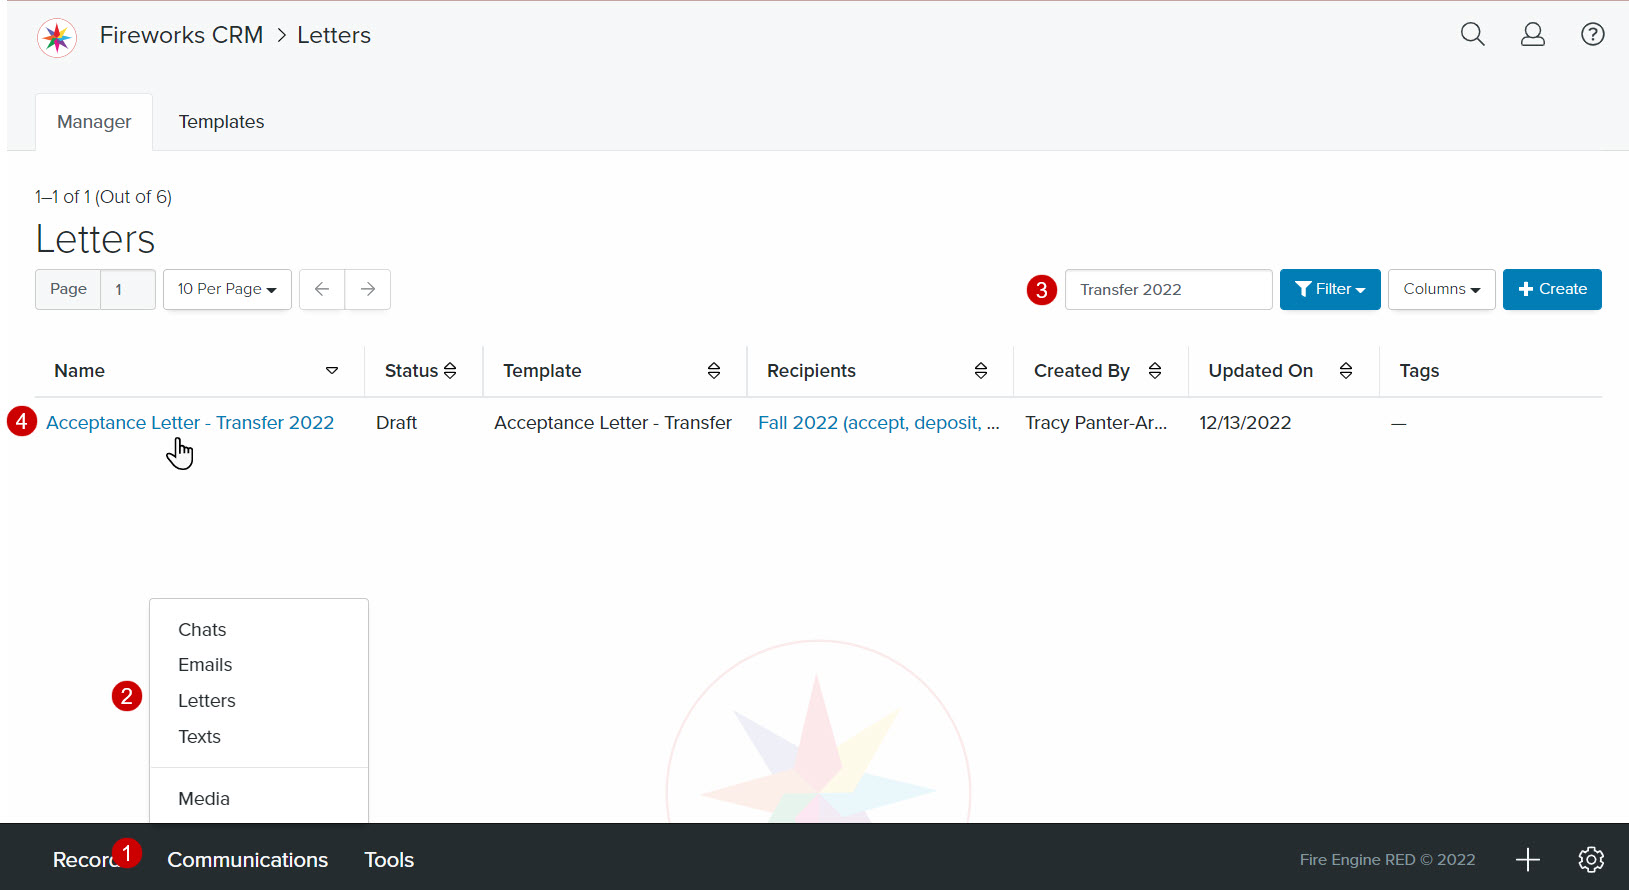
- Click Letters. The Letter Manager will display.
- In the Search field, enter the name of the letter that you want to print or scroll through the list of letters on the page
- Click the name of the letter. The Draft Letter page will display.
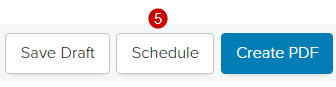
- Click Schedule. The Letter Job Composer will display.
Letters Job Composer Fields
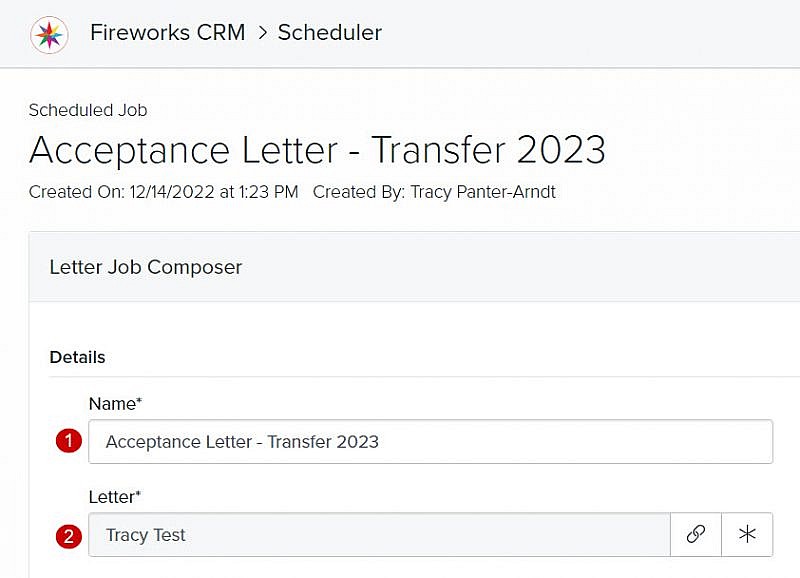
Details
- Name: Enter the name of the letter job
- Letter: The name of the letter
- Start Date and Time:

-
- Click

- Select the first date you want your letter to run
- Click

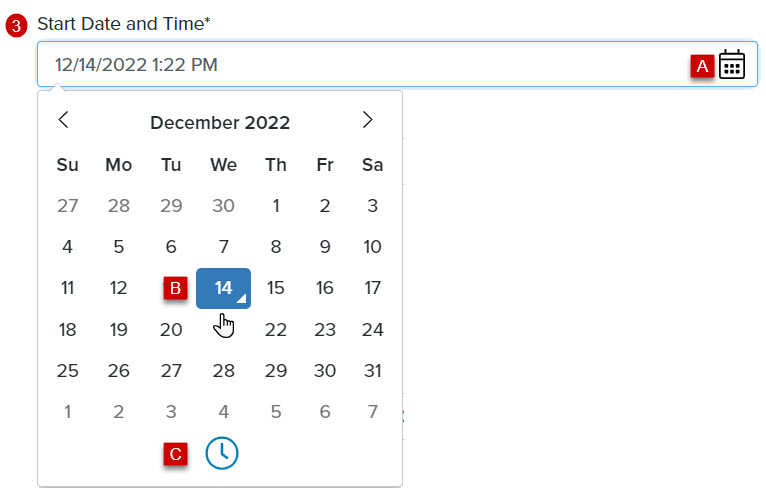
- Select the first time you want your letter to run
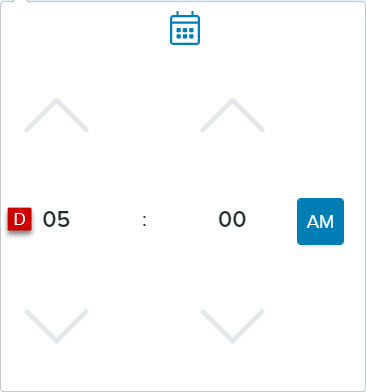
- Click
- Time Zone: Select the time zone from the Time Zone dropdown menu.
- Active: The Active box is checked by default.
Tip: If you want to pause a scheduled letter, uncheck the box.
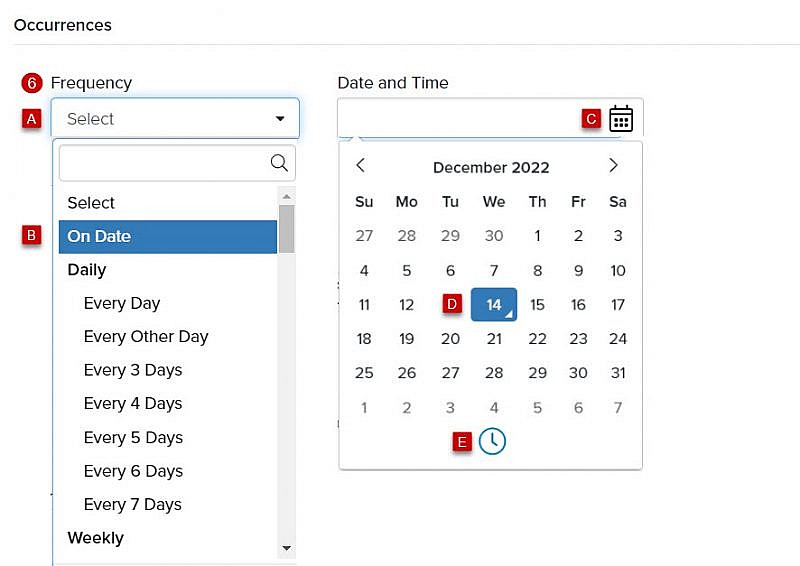
Occurrences
- Frequency
If you want to run your letter one time:
-
- Click Select
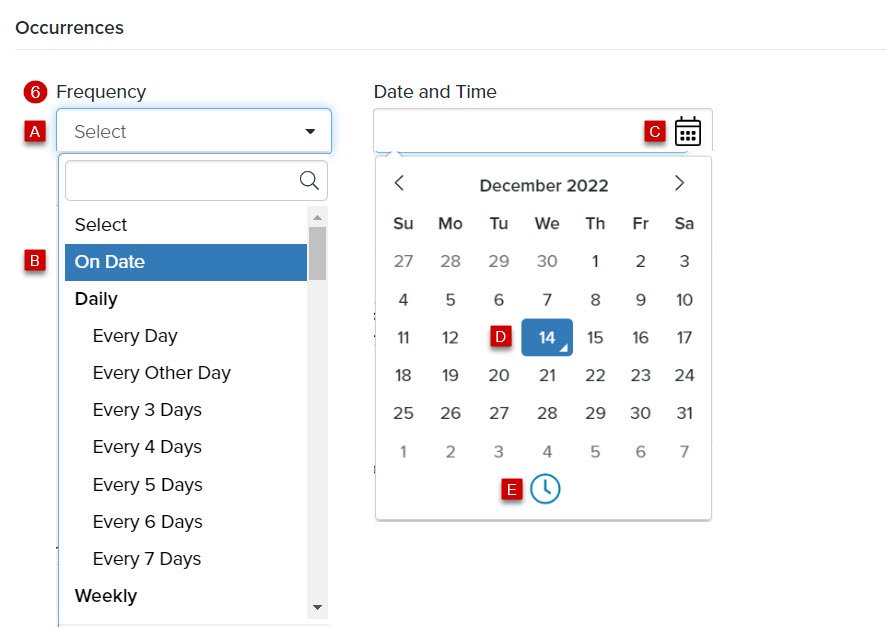
- Click On Date. The Date and Time fields will display.
- Click
- Select the date you want to run the letter
- Click
- Select the time you want to run the letter

If you want to process your letter multiple times:
-
- Click Select
- Click how frequently you want to run the letter. The appropriate Day, Time, and End Date fields will display.
- Complete the details, as needed
Tip: To schedule more than one type of occurrence, click.
Tip: To remove an occurrence(s) click .
Tip: If a day does not exist (e.g., February 29) in your recurring schedule, the job will not run).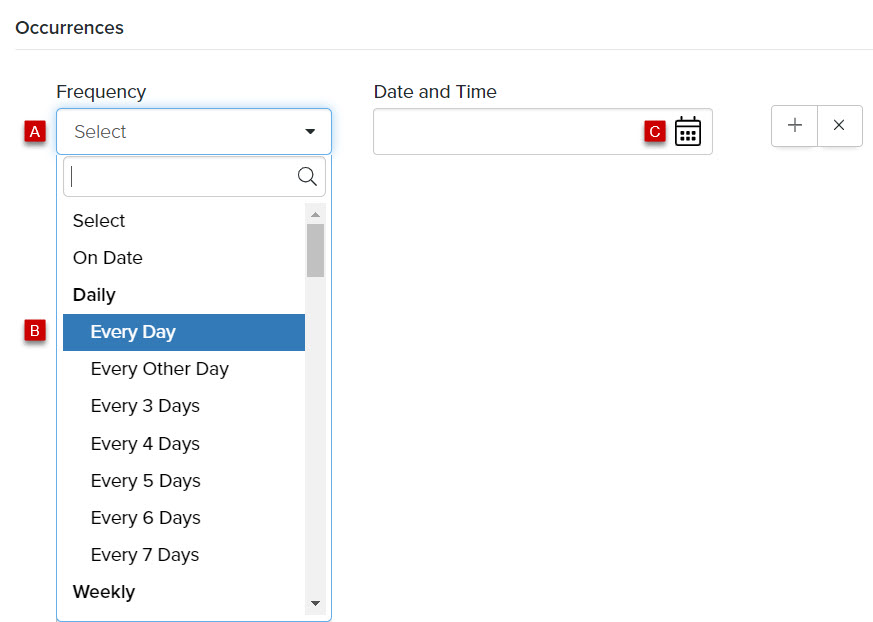
Exclude
- Date
- Click
- Select the date that you do not want the letter to run
Tip: You can add as many exclusion dates as needed by clicking (e.g., If you send a letter on the first day of every month, you can exclude January 1, New Year’s Day.)
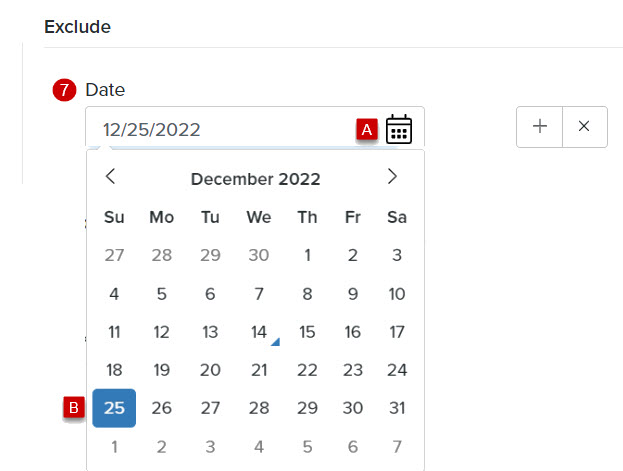
- Click
Action
- Override Action Date with the Date when this Job Runs: When the box is checked, the action date will match the date your letter was run.
Tip: If you want the action date to ALWAYS be the date you created your letter, rather than the date your letter was run, uncheck the box.
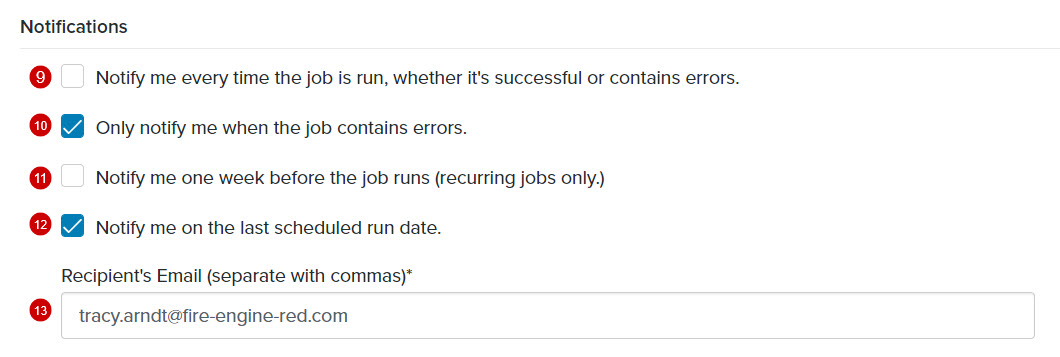
Notifications
- Notify me every time the job runs: If you want to receive a notification once your letter has run, whether it’s been successfully delivered or contains error(s), check the box
- Only notify me when the job contains errors: If you want to receive a notification once your letter has run only if your letter contains error(s), check the box
- Notify me one week before the job runs: If you want to receive a notification one week before the first time your letter is scheduled to start running, check the box
Tip: We recommend that you use this notification to double check that your letter recipient list is still accurate.
- Notify me on the last scheduled run date: If you want to receive a notification when your letter is running for the last time, check the box
- Recipient’s Email: Enter the email address(es) of each staff member who should receive the email notification(s)
Tip: If you want multiple staff members to receive an email notification(s), make sure to use a comma to separate each email address.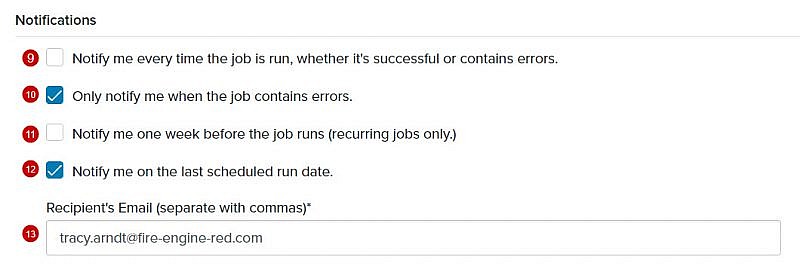
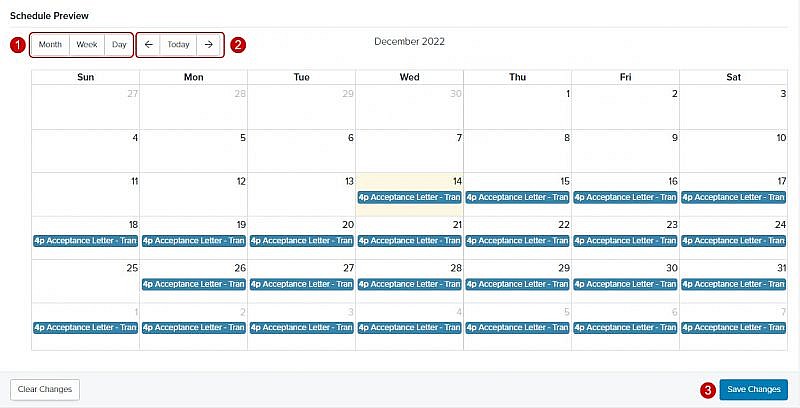
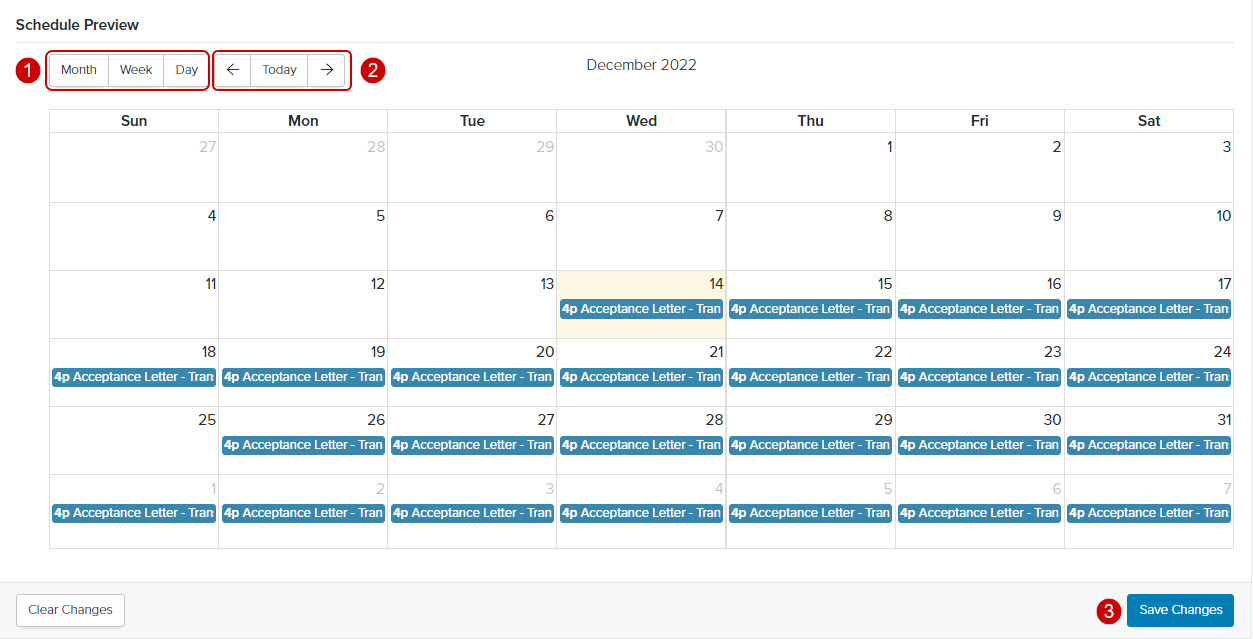
Schedule Preview
- Click Month, Week or Day to select your preferred calendar view
- Depending on the view you’ve selected, use the navigation arrows to scroll from month to month, week to week, or day to day
- Click Save Changes. A banner will display notifying you that a scheduled job has been created.
Tip: The preview calendar will display all of your scheduled run dates and times.