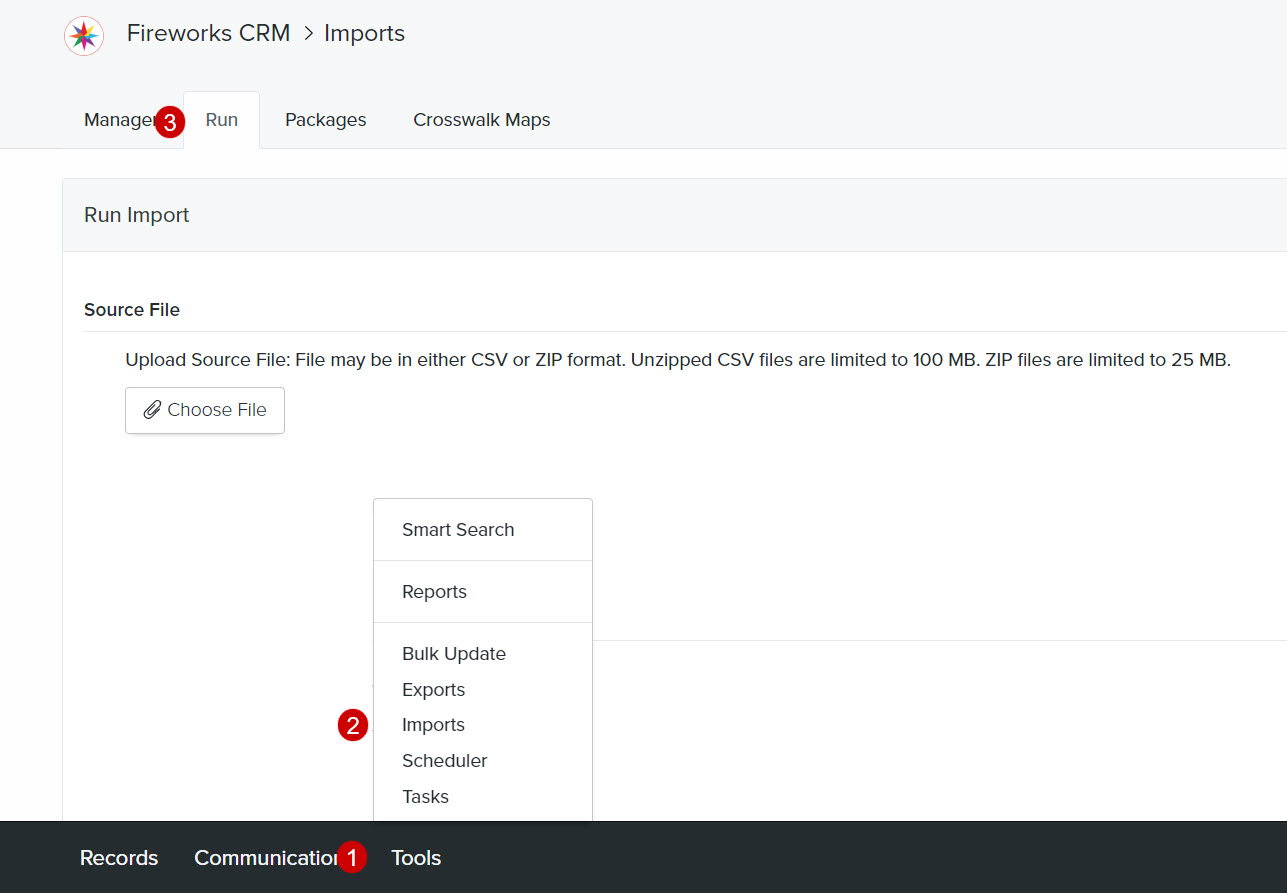
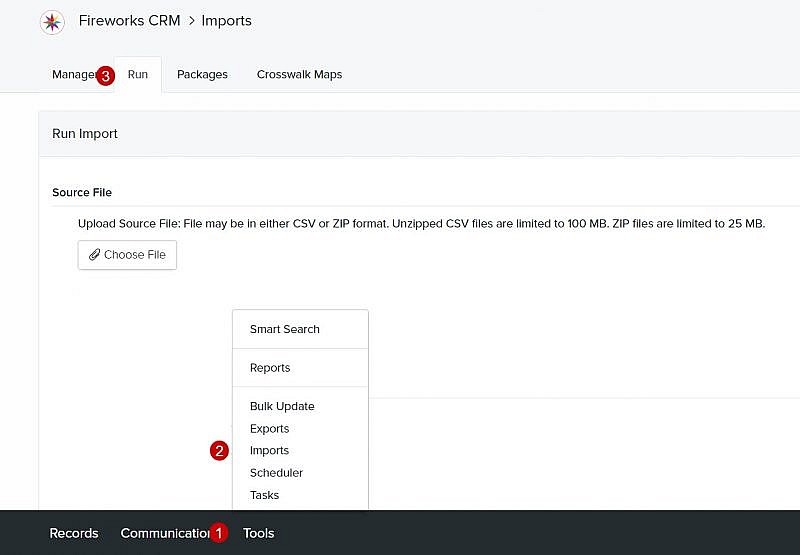
Navigation: Tools > Imports > Run
- From the bottom navigation bar, click Tools
- Click Imports. The Import Manager will display.
- Click Run. The Run Import page will display.
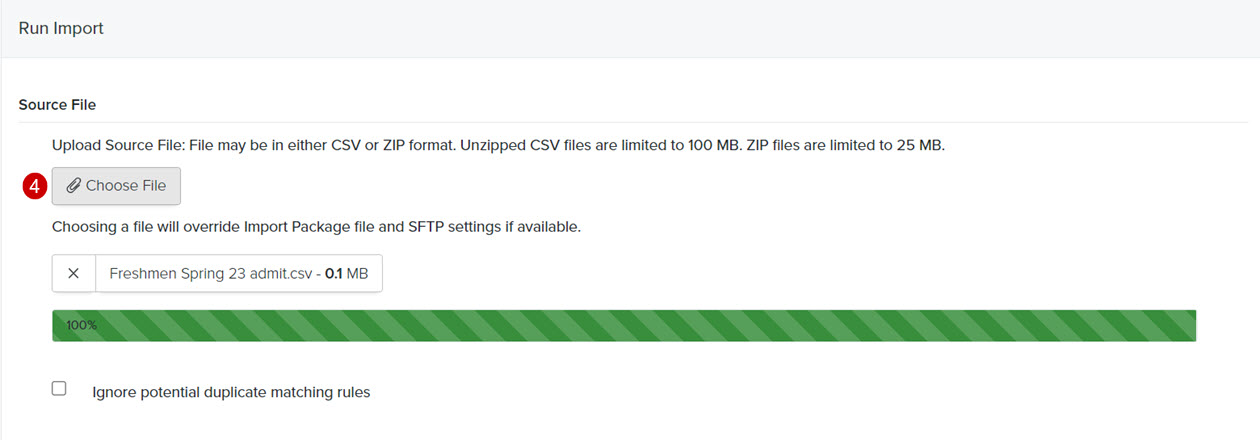
- Click Choose File and select the CSV or ZIP file you want to import
Tip: If you select a file, it will override your original import package file and SFTP settings.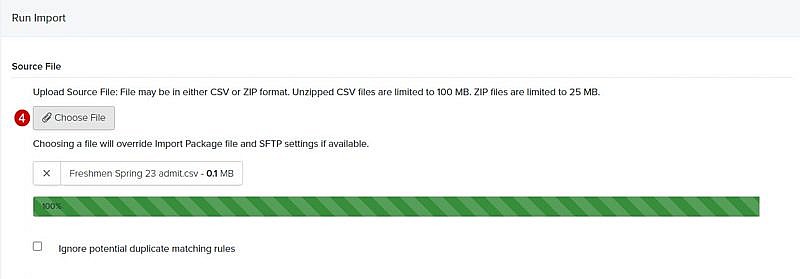
- Click Open
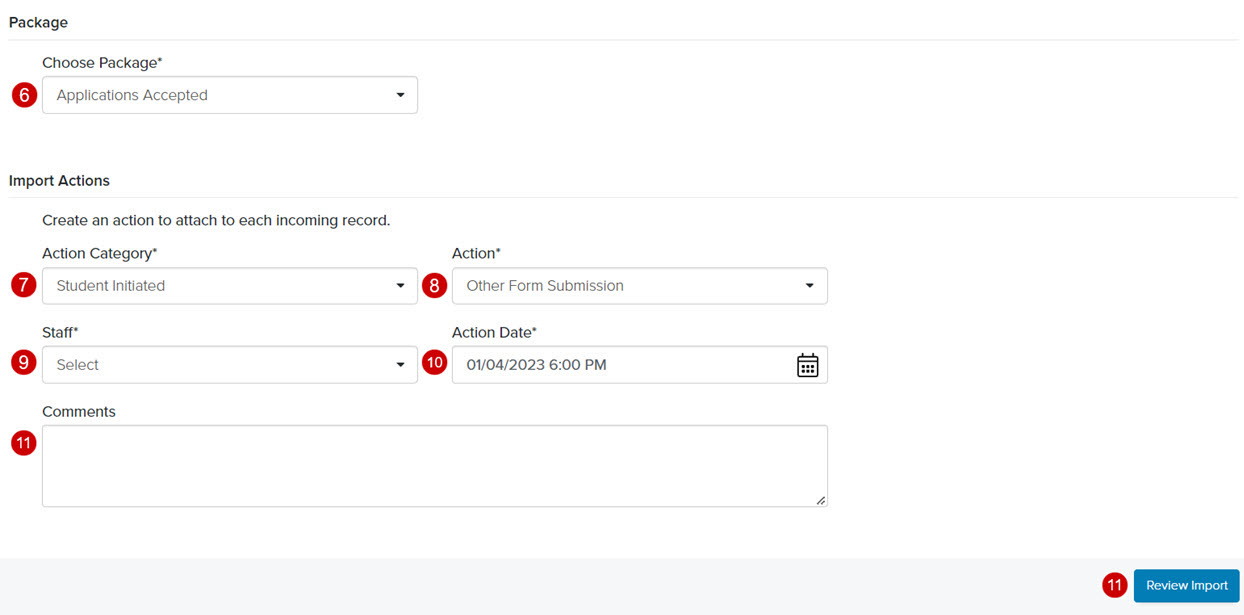
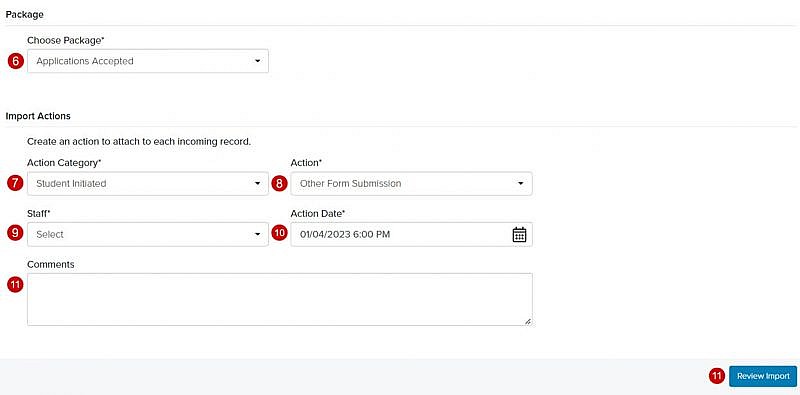
Tip: You’ll see a progress bar while your source file is uploading. Once your source file has finished uploading the name of the file and file size will be displayed. - Click the Choose Package dropdown menu and select the name of the import package that you want to use
- Click the Action Category dropdown menu and select a category (e.g., Campus Event, Travel )
- Click the Action dropdown menu and select an action (e.g., High School Visit, Inquiry Card, College Fair)
- Click the Staff dropdown menu and select the name of the staff member you want to assign the import to
- Select an Action Date and time by clicking

- Enter additional Comments describing the action, if appropriate
- Click Review Import. The Run Import: Review page will display.
- Click Run Import or Schedule Import
Tip: Once you click Run Import, you’ll be returned to the Import Manager page and the status of your import package will display as In Progress.
- When the status of your import package updates to Completed, click on the name of the import package to view the results